
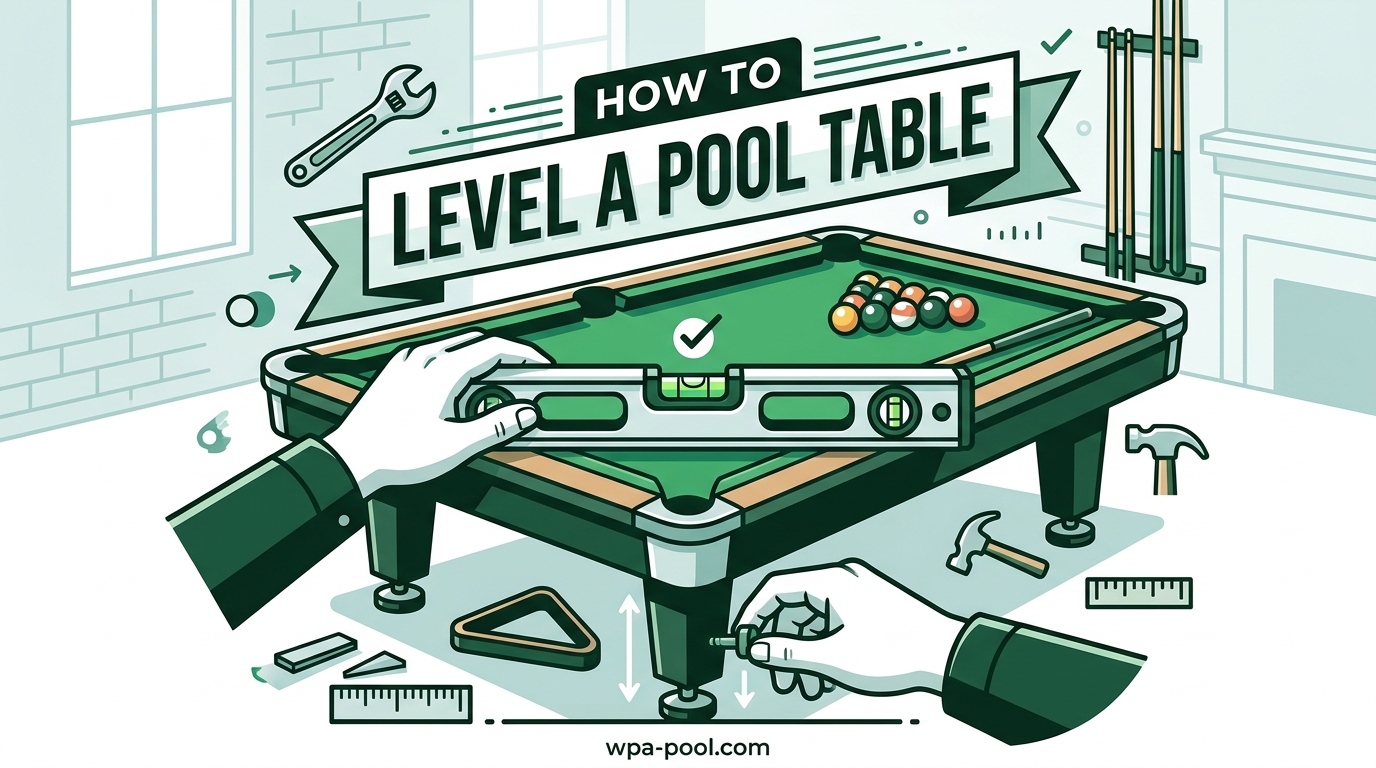
An unlevel pool table ruins every game. When balls consistently roll to one side or stop short without reason, you are not imagining it. Your table needs leveling, and you can fix this yourself with the right approach. Learning how to level a pool table will save you money and restore fair gameplay.
I have helped dozens of table owners solve leveling issues over the years. The process is straightforward once you understand the mechanics. Whether you have a slate table on carpet or a model with adjustable legs, this guide covers everything you need to know. You can also reference our pool table dimensions guide to understand how table size affects the leveling process.
Table of Contents
Signs Your Pool Table Is Not Level
The first sign is usually visual. You shoot a straight shot, and the ball curves unexpectedly toward one pocket. Or your break shot sends balls clustering in the same corner repeatedly. These patterns indicate an unlevel surface pulling balls in one direction.
Other warning signs include balls that roll backward after stopping, cues that drift when placed on the table, or a visible tilt when you stand at table height. Pay attention to these cues before they worsen your playing experience.
Common causes include floor settling over time, carpet compression under heavy slate tables, and seasonal wood movement affecting both the floor and table frame. A table that was perfectly level in winter may shift by summer as humidity changes.
Tools and Materials You’ll Need
Gather these items before starting. A 24-inch or longer carpenter’s level works for basic leveling. A machinist level provides greater precision for slate tables but costs significantly more. For budget-conscious owners, a smartphone level app offers surprising accuracy when calibrated properly.
You will also need shims for tables without adjustable legs. Wood shims work for temporary fixes but compress over time. Metal or composite shims provide lasting support. Keep an adjustable wrench or Allen key set handy for leg adjustments.
Finally, grab a cue ball for the roll test verification. This simple tool confirms your adjustments worked better than any level alone.
How to Level a Pool Table: Step-by-Step Guide
Follow these steps in order. Skipping ahead or working randomly wastes time and may leave your table worse than when you started.
Step 1: Inspect the Floor First
Check your flooring before touching the table. Place your level directly on the floor at each leg position. If the floor itself is uneven, you are fighting a losing battle.
Look for carpet indentations where legs have compressed the padding. These depressions worsen over months and can throw off even a perfectly adjusted table. Mark any low spots for reference during adjustment.
Wobbly legs indicate loose hardware or damaged feet. Tighten all bolts before proceeding. A stable base prevents future leveling problems.
Step 2: Find the Highest Corner
This is the critical technique most beginners miss. Professional installers always start by identifying the highest corner of the table. Once found, you raise the other three corners to match this point rather than lowering the high point.
Place your level across the center of the table in both directions. The corner where the bubble sits highest indicates your starting point. Mark this corner clearly.
Working from the highest corner prevents over-adjustment and creates a reference point for the entire process. Raise low corners incrementally rather than making large adjustments at once.
Step 3: Check Level on All Sides
Systematic checking prevents missed spots. Start by checking lengthwise from one end to the other. Place your level on the playing surface, not the rails. Check the width next, moving from side to side.
The diagonal check is essential and often overlooked. Place your level from one corner pocket to the opposite corner, checking both diagonal directions. According to forum discussions among professional installers, this diagonal checking between corner pockets reveals imbalances that straight-line checks miss.
Your table is level only when all four sides and both diagonals read level simultaneously. Patience here saves rework later.
Step 4: Adjust the Legs
Tables with adjustable legs simplify the process. Locate the adjustment mechanism on each leg, typically a threaded foot or a bolt system requiring an Allen key.
Use quarter-turn increments as recommended by experienced table technicians. Small adjustments prevent overshooting the mark. After each adjustment, recheck with your level.
Work methodically around the table. Adjust one leg, check all measurements, then move to the next if needed. Keep the highest corner fixed and bring the others up to match.
Step 5: Use Shims if Needed
Tables without adjustable legs require shims. These thin wedges slide under the leg base to raise corners incrementally. Start with thin shims and stack as needed.
Composite shims offer the best balance of durability and adjustability. Wood shims work in a pinch but compress under heavy slate weight over months. Metal shims last forever but can slide on smooth floors without rubber backing.
Place shims carefully to avoid creating pressure points. The goal is even distribution of weight across the shim surface.
Step 6: Verify with the Ball Roll Test
The final verification comes from physics, not tools. Place a cue ball at the center of the table. Give it a gentle push toward each pocket in turn.
A level table allows the ball to roll straight and stop naturally. Any curve indicates remaining unevenness. Repeat this test from multiple starting positions across the playing surface.
When balls roll true from all points, your job is complete. This real-world test confirms what levels suggest but cannot guarantee.
Troubleshooting Common Leveling Issues
Three-piece slate tables present unique challenges. Each slate section may sit at a slightly different height, creating seams that catch balls. Level each section independently before checking the overall table level.
Carpet compression requires ongoing attention. If your table sits on carpet, plan to check level every six months. The compression worsens over time, particularly under the heaviest corner.
When shims compress or legs shift repeatedly, consider calling a professional. Some flooring issues or table damage requires expertise beyond DIY fixes. Professional releveling typically costs between 150 and 300 dollars depending on your location and table type.
Maintenance Tips to Keep Your Table Level
Check your table level monthly using the ball roll test. This quick check catches problems before they affect gameplay seriously. Full level checks with a carpenter’s level should happen quarterly.
Slate tables require seasonal attention. Wood and slate expand and contract with temperature and humidity changes. Schedule a thorough check each spring and fall when these changes peak.
Protect your flooring to prevent future issues. Hard floor surfaces under legs prevent compression. If you must place a table on carpet, use wide, flat coasters under each leg to distribute weight.
What’s the easiest way to level a pool table?
The easiest method uses adjustable legs if your table has them. Find the highest corner with a level, then raise the other three corners using quarter-turn increments until all sides and diagonals read level. Finish with a ball roll test to confirm.
Does a pool table need to be perfectly level?
Yes, for fair gameplay. Even slight unevenness causes balls to roll inconsistently and affects shot accuracy. A properly leveled table ensures balls travel straight and stop naturally without pulling toward any particular pocket.
How often should a pool table be leveled?
Check monthly with a simple ball roll test. Perform full leveling checks quarterly. Tables on carpet or three-piece slate tables may need more frequent attention, especially during seasonal humidity changes.
How much does it cost to relevel a pool table?
Professional releveling typically costs between 150 and 300 dollars depending on your location, table type, and whether the cloth needs removal. DIY leveling costs nothing but your time and requires only basic tools like a level and shims.
Can you level a pool table without disassembling it?
Yes, most leveling can be done without disassembly. Adjustable legs and shims allow you to correct level issues while the table remains fully assembled. Only three-piece slate adjustments or severe floor issues might require partial disassembly.
Final Thoughts
Learning how to level a pool table empowers you to maintain perfect playing conditions year-round. The process requires patience and methodical checking, but the results are worth the effort. Start with proper floor inspection, identify your highest corner, and work systematically through each adjustment.
Remember that regular maintenance prevents major leveling headaches. Monthly ball roll tests catch problems early. With these techniques, you will enjoy consistent, fair gameplay on a surface that performs exactly as it should.