
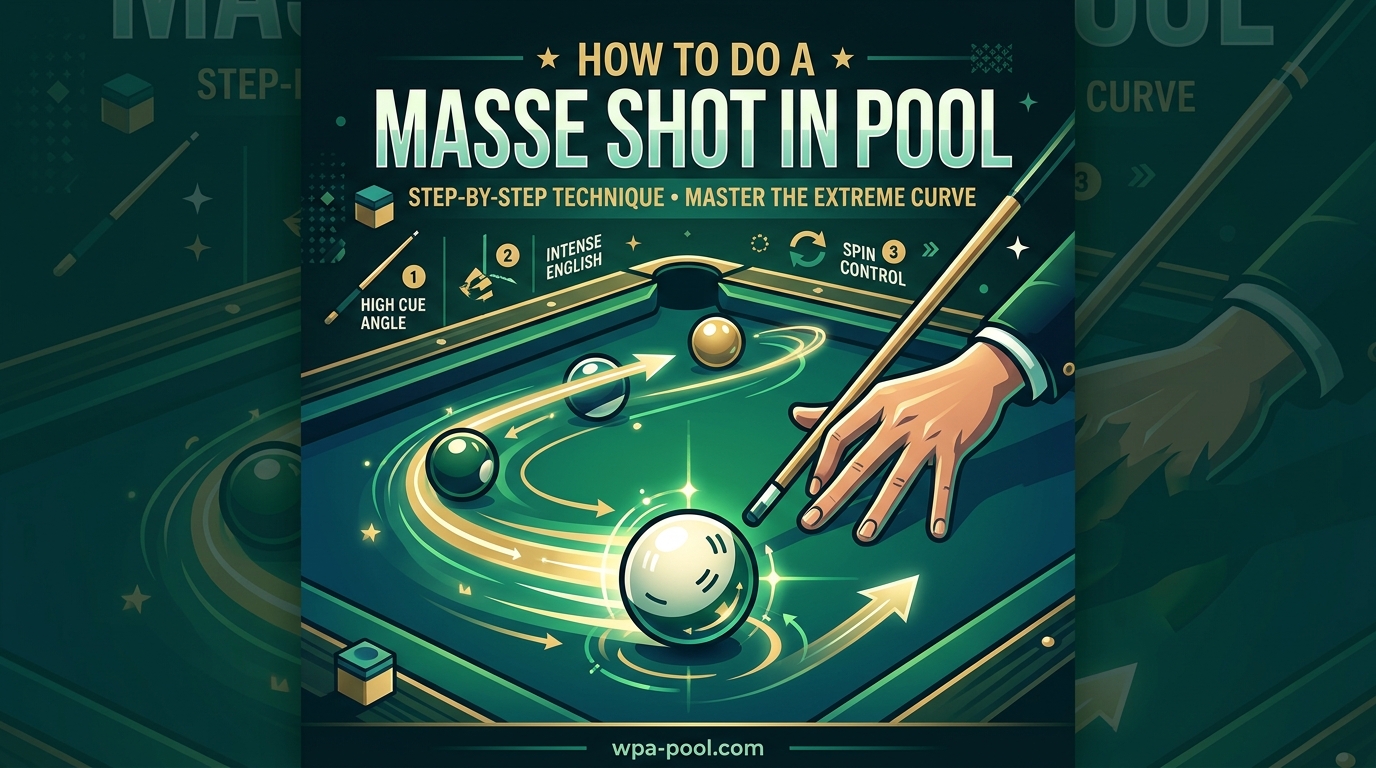
Picture this: you are lined up for what should be an easy shot, but an opponent’s ball sits squarely between your cue ball and the target. You could play a safety and give up your turn. Or, you could curve the cue ball around that obstacle with a masse shot (pronounced “mass-AY”) and pocket the ball anyway.
I spent three months working on my masse technique with daily practice sessions. The first week was frustrating. My cue ball either went straight into the obstacle or curved so wildly it never came close to the target. But once the mechanics clicked, the masse became one of my most reliable weapons in tight situations.
In this guide, I will walk you through exactly how to do a masse shot in pool. You will learn the proper cue elevation, how to apply spin for curve control, and the practice drills that helped me go from complete beginner to executing masse shots with confidence.
Table of Contents
What Is a Masse Shot in Pool
A masse shot is an advanced pool technique where you strike the cue ball with the cue stick elevated at a steep angle (typically 45 to 90 degrees) while applying side spin. This combination of elevation and spin causes the cue ball to travel in a curved arc rather than a straight line.
The physics behind a masse shot involves the interaction between the cue tip, cue ball, and table surface. When you hit the cue ball with an elevated cue and side spin, the ball initially deflects in one direction due to the angle of contact. As the ball slows down, the applied spin takes over and curves the ball back toward your intended target.
Players use masse shots when a direct path to the object ball is blocked. Common scenarios include curving around a single obstacle ball, executing impressive trick shots, or recovering from poor position when no straightforward option exists.
Equipment and Setup
You do not need specialized equipment to learn the masse shot. A standard playing cue works fine for beginners. However, understanding your equipment helps you make informed choices as you progress.
Cue Selection
Most players start learning masse shots with their regular playing cue. A cue with a hard leather tip or phenolic tip transfers energy efficiently to the cue ball, making spin application more predictable.
Some advanced players switch to dedicated masse cues for extreme curves. These cues feature shorter lengths (about 40-48 inches compared to the standard 58 inches) and lighter weights. The reduced length provides better control at steep angles. If you are just starting out, stick with your regular cue until you understand the fundamentals.
Table Considerations
Table conditions significantly affect masse shot performance. A well-maintained slate bed with quality felt provides the most consistent surface for practicing curves. Understanding pool table dimensions also matters because table size affects how much curve you need and how the ball reacts over distance.
Older tables with worn felt or uneven slate make masse shots unpredictable. The ball may grab the surface unexpectedly or slide more than expected. When possible, practice on the same table where you play competitively to develop feel for those specific conditions.
Tip Preparation
A properly shaped tip makes spin application easier. Your tip should have a dime to nickel radius and be chalked thoroughly before each shot. The chalk helps prevent miscues, which become more likely at steep cue angles.
Basic Technique: How to Do a Masse Shot
Executing a proper masse shot requires precise technique across several elements. Here is the step-by-step process that worked for me:
Step 1: Assess the Shot
Determine how much curve you need. A small curve around a nearby ball requires less elevation and spin than curving completely around a ball positioned close to your cue ball. Visualize the path before you set up.
Step 2: Position Your Bridge Hand
Place your bridge hand closer to the cue ball than you would for a normal shot. For most masse shots, the bridge should be 6-8 inches from the cue ball. This shortened bridge provides stability and control at steep angles.
Use an open bridge (V-shaped) rather than a closed bridge. The open bridge allows the cue to slide freely at the elevated angle without hitting your fingers.
Step 3: Elevate the Cue
Raise your cue stick to the appropriate angle. For a standard masse shot, elevate the cue between 45 and 90 degrees. Less elevation (45-60 degrees) produces a gentler curve suitable for most game situations. Maximum elevation (70-90 degrees) creates sharp curves for extreme situations or trick shots.
Keep your grip hand relaxed. Tension in your grip transfers to the cue and affects your delivery.
Step 4: Apply the Pinching Motion
Unlike a standard stroke where you follow through, the masse shot uses a “pinching” motion. Accelerate the cue toward the cue ball and stop abruptly after contact. Think of it as a sharp jab rather than a smooth stroke.
This abbreviated follow-through prevents the cue from hitting the table surface at the steep angle and gives you better control over spin application.
Step 5: Strike with Side Spin
Contact the cue ball off-center to apply side spin. The specific contact point determines which direction the ball curves. We will cover spin direction in detail in the next section.
Step 6: Stay Down and Watch
Keep your body still after striking the ball. Watch the cue ball’s path carefully. This feedback helps you adjust on subsequent attempts.
Applying Spin for Curve Control
Spin application (also called “english”) determines which direction your cue ball curves. Understanding these spin types gives you full control over the masse shot.
Left Spin (Left English)
To curve the cue ball to the left, strike the left side of the cue ball. When viewed from above, imagine the cue ball as a clock face. Contact between 9 o’clock and 10 o’clock produces left spin.
With left spin and proper elevation, the cue ball initially deflects slightly to the right, then curves back to the left as the spin takes effect.
Right Spin (Right English)
To curve the cue ball to the right, strike the right side of the cue ball. Contact between 2 o’clock and 3 o’clock produces right spin.
The cue ball initially deflects slightly left, then curves back to the right. This is the mirror opposite of left spin.
Straight Back Masse
For a straight back masse (curving directly backward), strike the cue ball at 6 o’clock or 12 o’clock with maximum elevation. This technique makes the cue ball reverse direction or curve sharply backward after initial forward movement.
The straight back masse is the most difficult variation because it requires precise contact and significant elevation. Most beginners should master left and right curves before attempting this technique.
Speed Control
Shot speed affects curve severity. A softer hit produces a tighter, more pronounced curve. A harder hit sends the ball farther before curving, resulting in a wider arc.
Practice varying your speed while keeping the same spin and elevation. This skill proves invaluable during actual gameplay when you need precise curve control.
How to Aim a Masse Shot
Aiming a masse shot differs fundamentally from aiming straight shots. You must account for both the initial deflection and the subsequent curve.
The Aim Point Adjustment Method
For left-curving masse shots, aim slightly to the right of your obstacle. The cue ball deflects right initially, then curves left around the obstacle. For right curves, aim slightly left.
The amount of adjustment depends on elevation angle and shot speed. Higher elevation requires more adjustment because the initial deflection increases.
Visualizing the Curve Path
Before shooting, trace the expected path with your eyes. Start at the cue ball, follow the initial straight line, then trace the curve arc to your target. This mental rehearsal improves accuracy significantly.
Experienced players often imagine a curved “rail” that guides the cue ball. Your job is placing that imaginary rail correctly.
Practice the Clock Face Technique
Think of your cue ball as a clock face when planning spin application. Different “times” produce different curve directions:
- 9 o’clock = maximum left curve
- 10 o’clock = moderate left curve
- 2 o’clock = moderate right curve
- 3 o’clock = maximum right curve
- 6 o’clock = straight back curve
Start with 10 and 2 o’clock positions. These produce the most predictable curves for beginners.
Semi-Masse Shots
Not every situation requires a dramatic 70-degree elevation. Semi-masse shots use lower cue elevation (20-45 degrees) to produce gentle curves around nearby obstacles.
When to Use Semi-Masse
Use semi-masse when the obstacle sits close to the cue ball’s path but does not completely block it. The gentler curve provides more control and reduces risk of over-curving past your target.
Semi-masse shots also work better on tables with worn felt or uneven surfaces because the lower elevation makes the shot less sensitive to surface imperfections.
Technique Differences
The technique mirrors full masse shots but with these adjustments:
- Reduce cue elevation to 20-45 degrees
- Use a slightly longer bridge (8-10 inches)
- Apply less aggressive spin
- Allow a small follow-through rather than pure pinching
Semi-masse shots bridge the gap between normal shots and full masse shots. Many players use them more frequently during actual games because they offer better control.
Common Mistakes and How to Avoid Them
Learning the masse shot involves trial and error. Here are the mistakes I made most often and how to correct them.
Mistake 1: Too Much Elevation
Many beginners elevate the cue too steeply, thinking more elevation equals more curve. Excessive elevation actually reduces control and increases miscue risk.
Start with 45-degree elevation and increase only when necessary. A 45-degree masse with proper spin produces surprising curve. You rarely need 80-90 degrees unless performing trick shots.
Mistake 2: Incorrect Tip Contact
Hitting too close to center produces insufficient spin. Hitting too far from center causes miscues.
Practice finding the right contact point by starting conservative (slightly off-center) and gradually moving outward until you find the edge of your miscue limit. Mark this mentally and stay slightly inside it during actual play.
Mistake 3: Poor Bridge Stability
An unstable bridge at steep angles causes inconsistent results. The cue should slide smoothly through your bridge without wobbling.
Practice your bridge position without hitting balls. Slide the cue back and forth at masse elevation until the movement feels smooth and controlled.
Mistake 4: Tensing the Grip
Nervousness about the steep angle causes players to grip the cue too tightly. Tension reduces feel and makes smooth delivery impossible.
Consciously relax your grip hand before each masse attempt. The cue should rest loosely in your fingers, held just firmly enough to control its movement.
Practice Drills for Beginners
Consistent practice builds masse shot skill faster than occasional attempts during games. Here is the progression that worked for me.
Drill 1: The Straight Line Test
Set up the cue ball on the head spot. Place an object ball directly behind it, centered on the table. Attempt a masse shot curving around the object ball to hit the head rail.
Start with 45-degree elevation and left spin. Focus on making consistent contact and observing the curve. Do not worry about hitting a specific target yet. Repeat 20 times, then switch to right spin.
Drill 2: The Progressive Curve
Place the cue ball one diamond from the side rail. Place an obstacle ball two diamonds away, positioned to block a straight path to the opposite corner pocket. Practice curving around the obstacle into the corner pocket.
Start with large obstacles (easy curves) and gradually move the obstacle closer to the cue ball as your skill improves. This progressive difficulty builds confidence.
Drill 3: Speed Control Practice
Set up a semi-masse shot to a side pocket. Execute the same shot five times with increasing speed each time. Observe how the curve changes. Then repeat with decreasing speed.
This drill develops the feel for how speed affects curve radius, an essential skill for game situations.
Table Protection Tips
Masse shots can damage table felt if executed improperly. The steep cue angle increases risk of scratching the cloth with your cue tip or ferrule.
Practice initially on a dedicated practice table or use a protective cue sleeve. When playing on unfamiliar tables, ask permission before attempting masse shots. Some pool halls prohibit them entirely to protect their equipment.
Safety and Legality of Masse Shots
Understanding when and where masse shots are appropriate prevents problems during play.
Are Masse Shots Legal
Yes, masse shots are legal in most pool games and tournaments. WPA (World Pool-Billiard Association) rules explicitly allow masse shots provided you execute them properly without scooping the cue ball (which constitutes a foul).
Some local tournaments or bar rules may prohibit masse shots. Always check the specific rules before competition. House rules at casual venues sometimes ban them to protect table felt from inexperienced players.
Table Damage Prevention
The primary safety concern with masse shots is protecting the table. Steep cue angles bring the ferrule (the metal or plastic ring below the cue tip) close to the felt surface.
Practice proper pinching technique to keep the cue above the felt. Never dig downward into the table surface. If you feel the cue hitting the cloth, your elevation or technique needs adjustment.
When to Avoid Masse Shots
Do not attempt masse shots when:
- You are not confident in your ability to execute safely
- The table felt is new or expensive
- The venue explicitly prohibits them
- A simple safety play would be strategically smarter
Masse shots impress spectators, but winning players choose the highest percentage shot regardless of style.
Frequently Asked Questions
How to perform a masse shot in pool?
Elevate your cue stick 45-90 degrees, use an open bridge positioned 6-8 inches from the cue ball, apply side spin by striking off-center, and use a pinching motion rather than a full follow-through. Practice with left and right spin to control curve direction.
Why are masse shots not allowed?
Masse shots are actually legal in most WPA-sanctioned tournaments and pool games. Some local venues prohibit them to protect table felt from damage caused by inexperienced players using improper technique. Always check specific house rules before playing.
What is a pool masse shot?
A masse shot is an advanced pool technique where you curve the cue ball around obstacles by elevating the cue stick and applying side spin. The spin causes the ball to travel in an arc rather than a straight line, allowing you to reach otherwise blocked balls.
What tip is a masse shot cue?
Masse cues typically use hard leather tips or phenolic tips. These hard surfaces transfer energy efficiently and hold their shape under the extreme contact angles used in masse shots. Standard medium tips work for beginners learning basic masse technique.
What is the 30 rule in pool?
The 30-degree rule states that when the cue ball hits an object ball with rolling follow at medium speed, the cue ball deflects approximately 30 degrees from its original path. This rule helps players predict cue ball movement after contact but is unrelated to masse shot technique.
What is the hardest cue sport?
Three-cushion billiards is widely considered the most difficult cue sport due to its complex scoring system requiring the cue ball to contact three cushions before hitting the target ball. Carom billiards also ranks highly in difficulty. Pocket billiards games like pool are generally considered more accessible.
Conclusion
Learning how to do a masse shot in pool opens up possibilities that transform difficult positions into scoring opportunities. The technique requires patience and practice, but the fundamentals are accessible to any dedicated player.
Remember the core elements: elevate your cue 45-90 degrees depending on curve needs, apply side spin at 10 or 2 o’clock positions for left or right curves, use a shortened open bridge for stability, and execute with a pinching motion rather than a full stroke.
Start with semi-masse shots at lower elevation before attempting dramatic curves. Focus on consistent contact and observation rather than immediate results. My own breakthrough came after about two weeks of daily 15-minute practice sessions. The muscle memory developed slowly, then suddenly everything clicked.
Respect the equipment and learn proper technique before attempting masse shots in competitive play. A well-executed masse impresses opponents and wins games. A poorly executed masse damages tables and wastes opportunities. Choose the right moments, practice consistently, and the masse shot will become a valuable addition to your pool game in 2026.