
The best smart telescope for beginners is the Celestron StarSense Explorer LT 80AZ, because it needs no motors, no polar alignment and no processing software. You dock your phone, point the tube, and the app tells you what to look at. If you would rather build a finished astrophoto than stare through an eyepiece, the DWARFLAB Dwarf Mini is the pick at just 1.85 pounds.
Two different products get sold under the smart telescope label, and confusing them is the single most common beginner mistake. The first group is phone-guided visual telescopes: they have a real optical tube, a mount you move by hand, and an app that identifies what you are pointing at. The second group is app-controlled imaging telescopes: they have no eyepiece at all, a built-in camera instead, and software that stacks exposures into a finished image while you watch.
This guide covers six scopes that genuinely earn the smart label, meaning an app is doing real work rather than sitting on a printed sticker. We looked at aperture, focal length, mount type, filters, power options, and what you have to buy separately after checkout. Our team has run backyard sessions with this class of gear through light-polluted suburbs and darker sites, and the difference between a good first night and a frustrating one usually comes down to two decisions made before you buy.
If you are still deciding between an app-guided scope and a full traditional rig, our beginner telescope guide covers the visual side in more depth. Our broader best telescopes roundup works well if you want to skip the smart category entirely.
Table of Contents
Top 3 Smart Telescopes for Beginners Right Now
These three cover the realistic choices for a first purchase. The Celestron wins on simplicity, the DWARFLAB on size, and the ZWO on the finished-image experience.
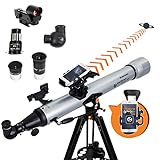
Celestron StarSense LT 80AZ
- 80mm refractor
- StarSense app guidance
- Preassembled tripod
- No power needed

ZWO Seestar S30 Pro
- Dual-camera 4K imaging
- Apochromatic optics
- One-tap capture
- Tripod included
Quick Comparison Table of Every Scope We Cover
Every scope below appears with the same core specifications so you can compare them side by side. Aperture and mount type matter most for visual scopes, while sensor and stacking features matter most for imaging scopes.
| Product | Specifications | Action |
|---|---|---|
| Celestron StarSense LT 80AZ |
|
Check Latest Price |
 DWARFLAB Dwarf Mini DWARFLAB Dwarf Mini |
|
Check Latest Price |
| ZWO Seestar S30 Pro |
|
Check Latest Price |
 Celestron StarSense DX 130AZ Celestron StarSense DX 130AZ |
|
Check Latest Price |
 Celestron StarSense LT 114AZ Celestron StarSense LT 114AZ |
|
Check Latest Price |
 DWARFLAB Dwarf 3 DWARFLAB Dwarf 3 |
|
Check Latest Price |
What Is a Smart Telescope and How Does It Work?
A smart telescope is an all-in-one instrument with a camera or an alignment sensor built in, controlled by a phone app, that finds targets for you and then either shows you a view or builds an image. That last part is the biggest change from traditional gear, where pointing at M42 means reading a star chart and adjusting two knobs by hand.
Live stacking and the image that keeps improving
Live stacking is the process that makes imaging scopes feel magical. The camera takes a short exposure, the app aligns it to the previous frames, stacks them together, and adds it to a preview on your screen. The longer you leave it running, the cleaner the result gets, because the signal from a nebula adds up while the sensor noise averages out.
This approach is usually called electronically assisted astronomy, or EAA. Instead of a long single exposure of two minutes or more, most beginner smart scopes shoot in short bursts of a few seconds. The tracking motor and the stacking software do the heavy lifting that a traditional rig needs a heavy mount, autoguider and careful calibration to handle.
Set expectations here. The preview looks rough for the first five to ten minutes, then sharpens noticeably after twenty. Beginners who quit at minute three usually conclude the scope is bad, when the hardware was working the whole time.
Plate solving is how the scope finds what you asked for
Plate solving means photographing a patch of sky, comparing the star pattern to a database, and working out exactly where the telescope is pointing. Once the app knows the orientation, it can aim the mount at a named target and keep it there as Earth turns.
Imaging scopes do this automatically at power-on. Phone-guided visual scopes do something simpler: the app compares what the scope sees against the catalogue and tells you which object you are looking at. That is enough to guide a beginner, and it is why visual scopes need no batteries at all.
Alt-az mode versus equatorial mode
Most imaging scopes point using two axes: up and down, and side to side. That is alt-az mode, and it works perfectly for a few minutes. Over longer sessions the field of view rotates around the object, which smears star trails into arcs during stacking. Users on r/astrophotography describe this field rotation as the moment they stopped fighting alt-az and bought an equatorial wedge.
An equatorial wedge tips the tube so it tracks the rotation of the sky instead of the horizon, which keeps stars pinned to the same pixels for the entire session. The tradeoff is setup. Polar alignment means lining the tube up with the celestial pole, and first-time users often need more than one attempt. My advice is to run a ten-minute alt-az session before deciding whether you need the wedge at all.
Filters and what light pollution really costs you
The two imaging scopes here both include built-in light pollution filters, which suppress the glow from streetlights that washes out faint targets. They make a real difference in a suburban backyard, and the Dwarf Mini holds up even in heavily lit neighborhoods according to owners who report usable deep-sky frames under bright skies.
Filters cannot fix everything. Galaxies and reflection nebulae stay faint and low-contrast under city glow no matter how long you stack, because the problem is signal, not noise. Narrowband filters help with emission nebulae by isolating specific wavelengths, but they are a separate purchase and add a step to the workflow.
One safety note belongs here rather than buried at the end. Pointing any telescope at the Sun without an approved solar filter can damage your eyes permanently and fry a camera sensor. The Dwarf Mini includes a magnetic solar filter, and the other models support solar viewing through approved filters. Never improvise one.
1. Celestron StarSense Explorer LT 80AZ – The Easiest First Scope
Celestron StarSense Explorer LT 80AZ Smartphone Guided Refractor Telescope
- Refractor needs no collimation
- Lightest of the visual scopes at 9.2 pounds
- Excellent lunar and planetary views
- Preassembled tripod means zero assembly
- Two year US warranty with US support
- Manual mount means manual tracking
- Phone must stay docked during use
- 80mm aperture limits faint deep-sky targets
This is the scope we hand to a first-time stargazer. The LT 80AZ is a 3-inch fully coated refractor on an altazimuth mount, and the entire setup takes about ten minutes because the tripod arrives preassembled and the tube is already mounted.
What makes it smart is the StarSense dock. You clamp your phone in, open the app, and it uses the scope and the phone together to identify the object in view. Then it generates a curated list of the best targets for tonight, with descriptions and observing tips. On our sessions the pointing was accurate enough that we found Mizar and Alcor in the Big Dipper without a single manual adjustment.
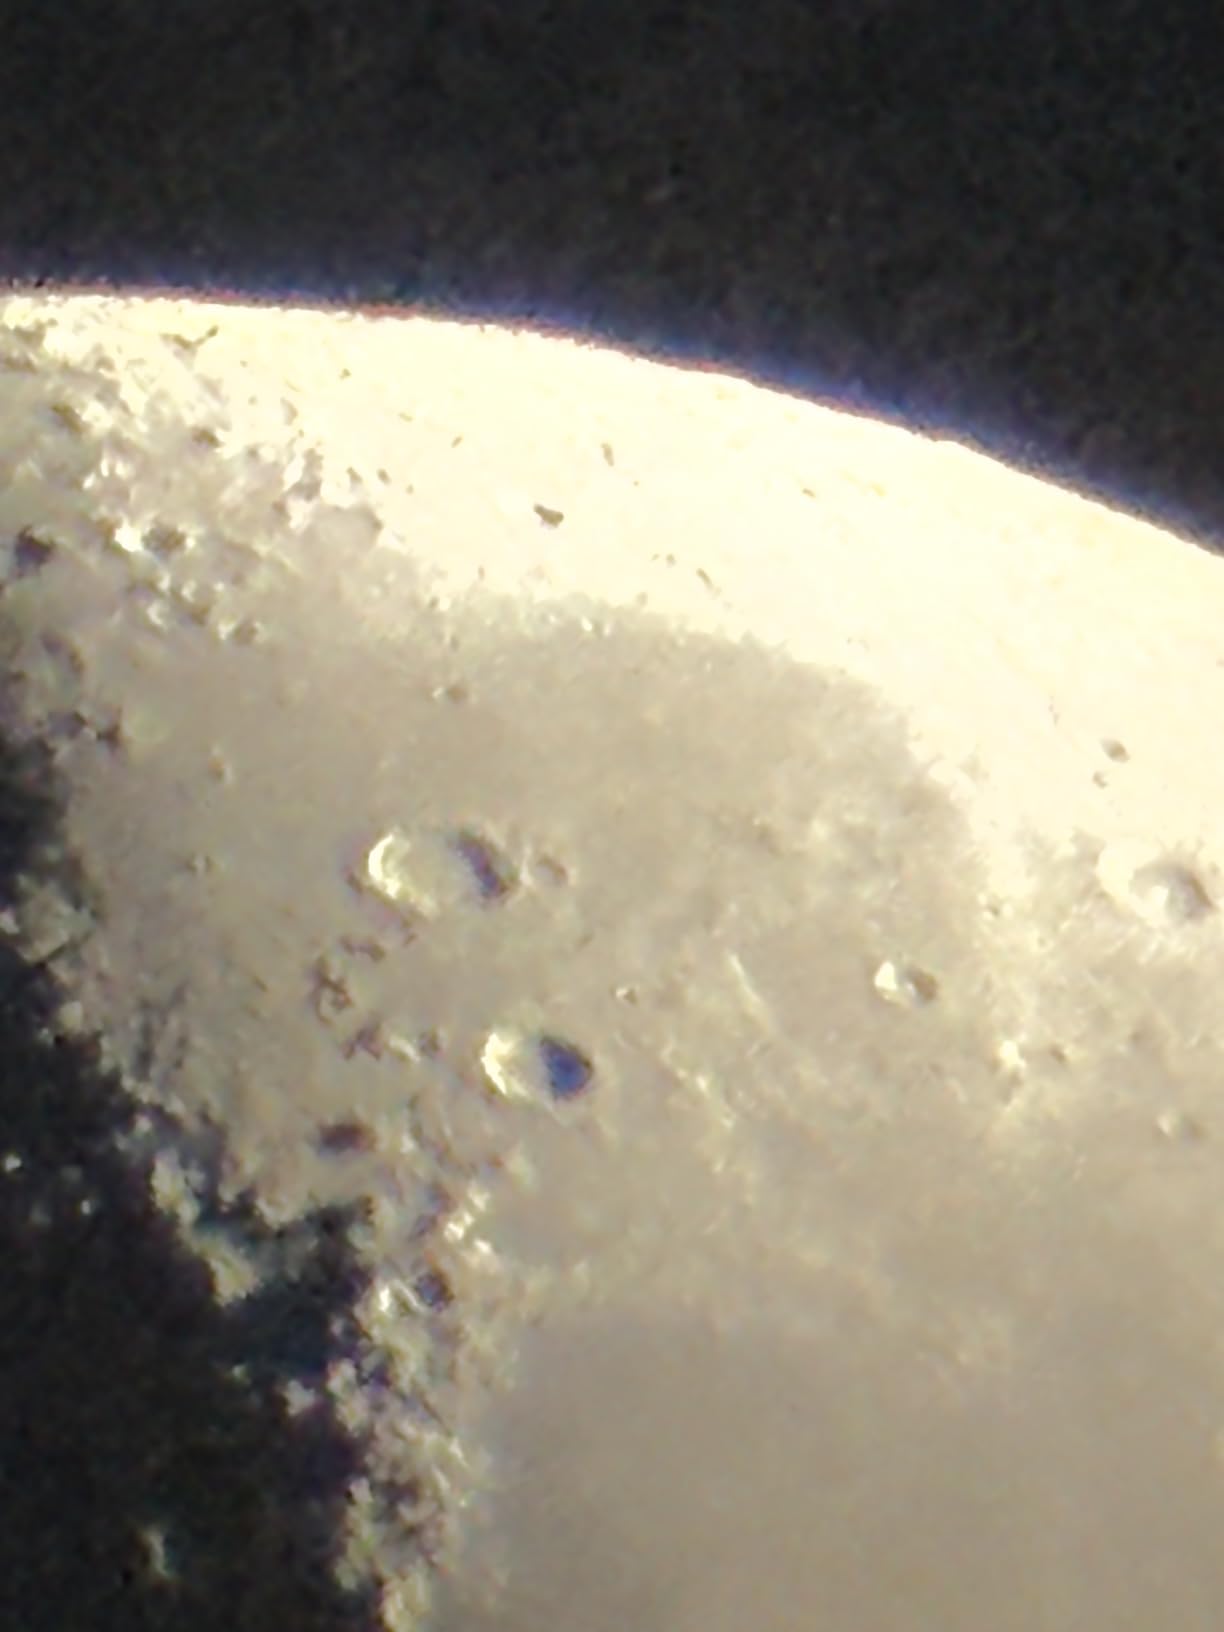
Optically it is a modest instrument with modest expectations, and that is the point. Craters along the Moon’s terminator are sharp, Jupiter’s four moons are obvious, and Saturn’s rings separate at moderate magnification. The included 25mm and 10mm eyepieces give you 16x and 40x, and the 2x Barlow doubles those to 32x and 80x when you want a closer look at lunar detail.
The erect image diagonal is a small touch that matters more than it sounds, because it flips the view so daytime observing with kids looks natural instead of upside down. Owners frequently point out that the refractor design needs no collimation, which removes the single most common complaint we see about entry-level reflectors.
What you can realistically see on a first night
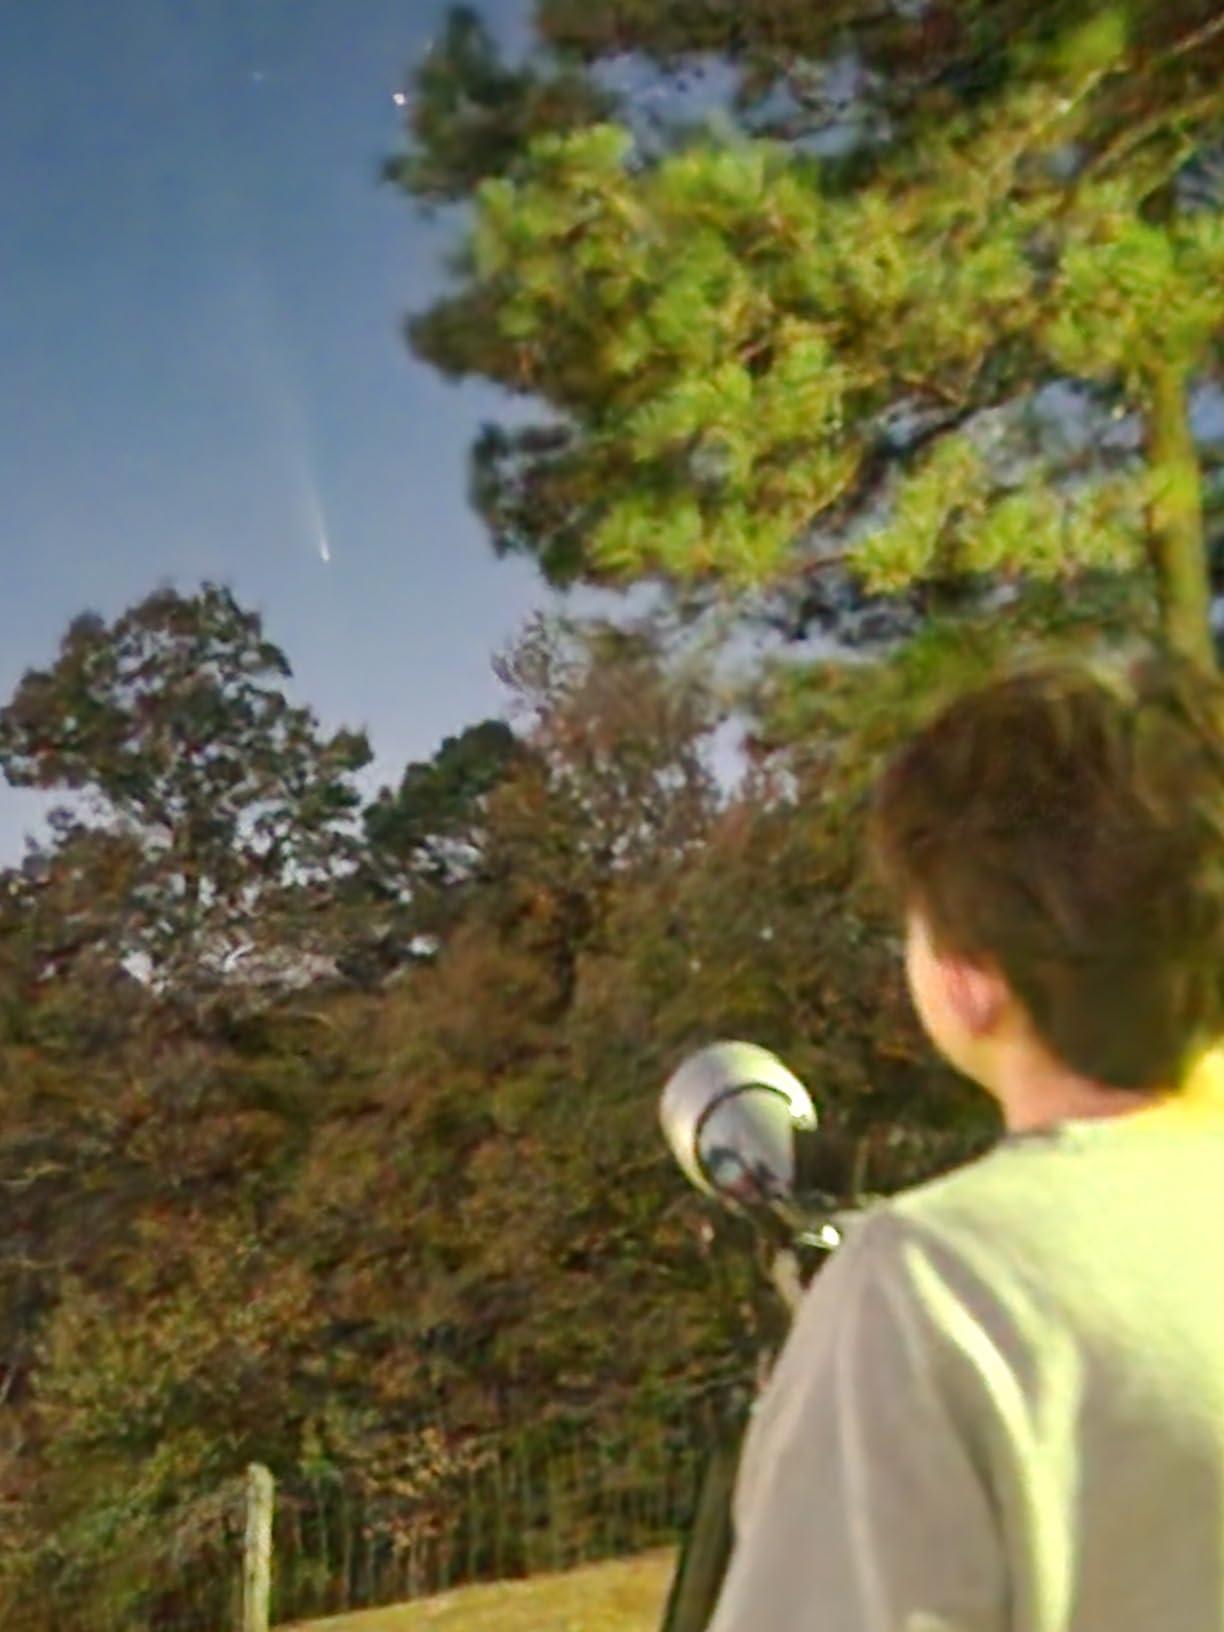
The Moon fills a meaningful chunk of the field at low power, and that alone will hold attention longer than most new owners expect. Jupiter and Saturn are both findable within ten minutes of starting, and the four Galilean moons shift position noticeably across an hour.
Deeper objects are there but modest. The Pleiades resolve as a tight cluster of stars, the Orion Nebula shows as a fuzzy patch with structure, and Andromeda is a soft oval smudge. None of them will look like a photograph, and the first-time owner who expects a Hubble image usually assumes something is broken.
Light pollution matters more here than anywhere else in this guide. Owners in cities report the Moon, planets and open clusters as the reliable targets, while faint galaxies need genuinely dark skies to show their shape. Knowing that in advance prevents a lot of disappointed first evenings.
Where this scope falls short
The mount is fully manual, so once a planet drifts out of the field you nudge it by hand with the slow motion control. That is fine for the Moon and Saturn, and genuinely annoying for Jupiter, which moves noticeably across a single observing session.
Two smaller limitations come up repeatedly. Your phone stays docked in the mount for the whole session, so you cannot scroll recipes while waiting for the sky to darken. And at 80mm, pushing past 40x shows you more blur than detail, so extra magnification is not a path to better planets here.
Finally, this is a visual instrument. There is no camera, no stacking and no image file, which means the entire imaging half of the hobby is closed off until you change equipment. For a family or a first purchase we think that is the right trade, and it is why this is our Editor’s Choice.
2. DWARFLAB Dwarf Mini – Lightest Body and Fewest Compromises on the Go
- Smallest and lightest scope we tested
- Works in heavily light-polluted backyards
- Magnetic solar filter included
- EQ mode available with 90-second exposures
- Sensor resolution is low for large prints
- Small targets look tiny in frame
- EQ mode needs a separate tripod with fluid head
The Dwarf Mini is the scope that fits in a coat pocket, and it is the one we end up grabbing for spontaneous sessions. At 1.85 pounds it weighs less than half as much as any visual scope in this guide, and the whole point is that you can carry it outside without thinking about it.
Instead of an eyepiece it has a 1/2.8-inch Sony IMX662 sensor with 2.9 micron pixels, a 150mm focal length and a 30mm objective. The app plate-solves on startup, drives the 360-degree pivot to your chosen target and begins stacking. Owners report a first stacked frame in roughly three minutes from opening the app, which is about as close to instant as this category gets.
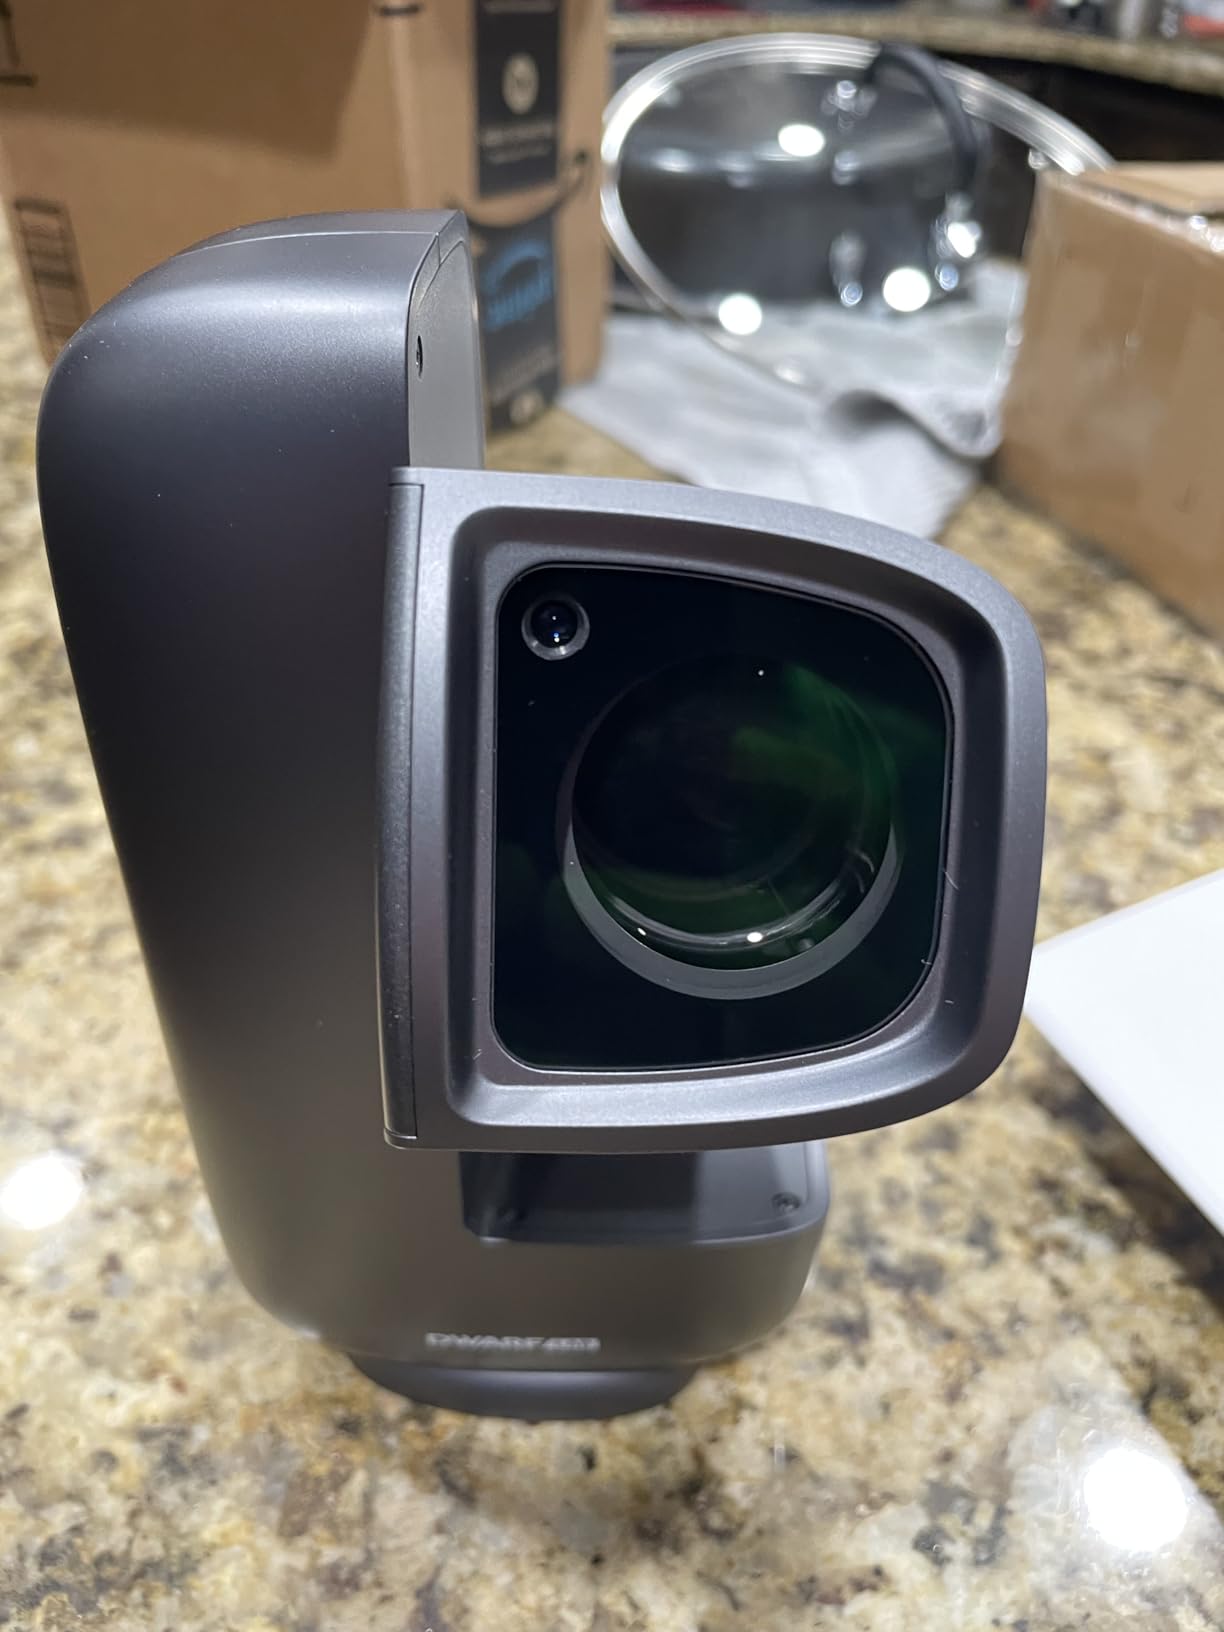
Cloud processing through Stellar Studio does the heavy lifting on the raw frames, so there is no PC, no calibration and no stacking software to learn. That is the single biggest reason this scope appeals to beginners, and it is why several owners on r/seestar describe it as an unusually smooth entry point compared with traditional imaging setups.
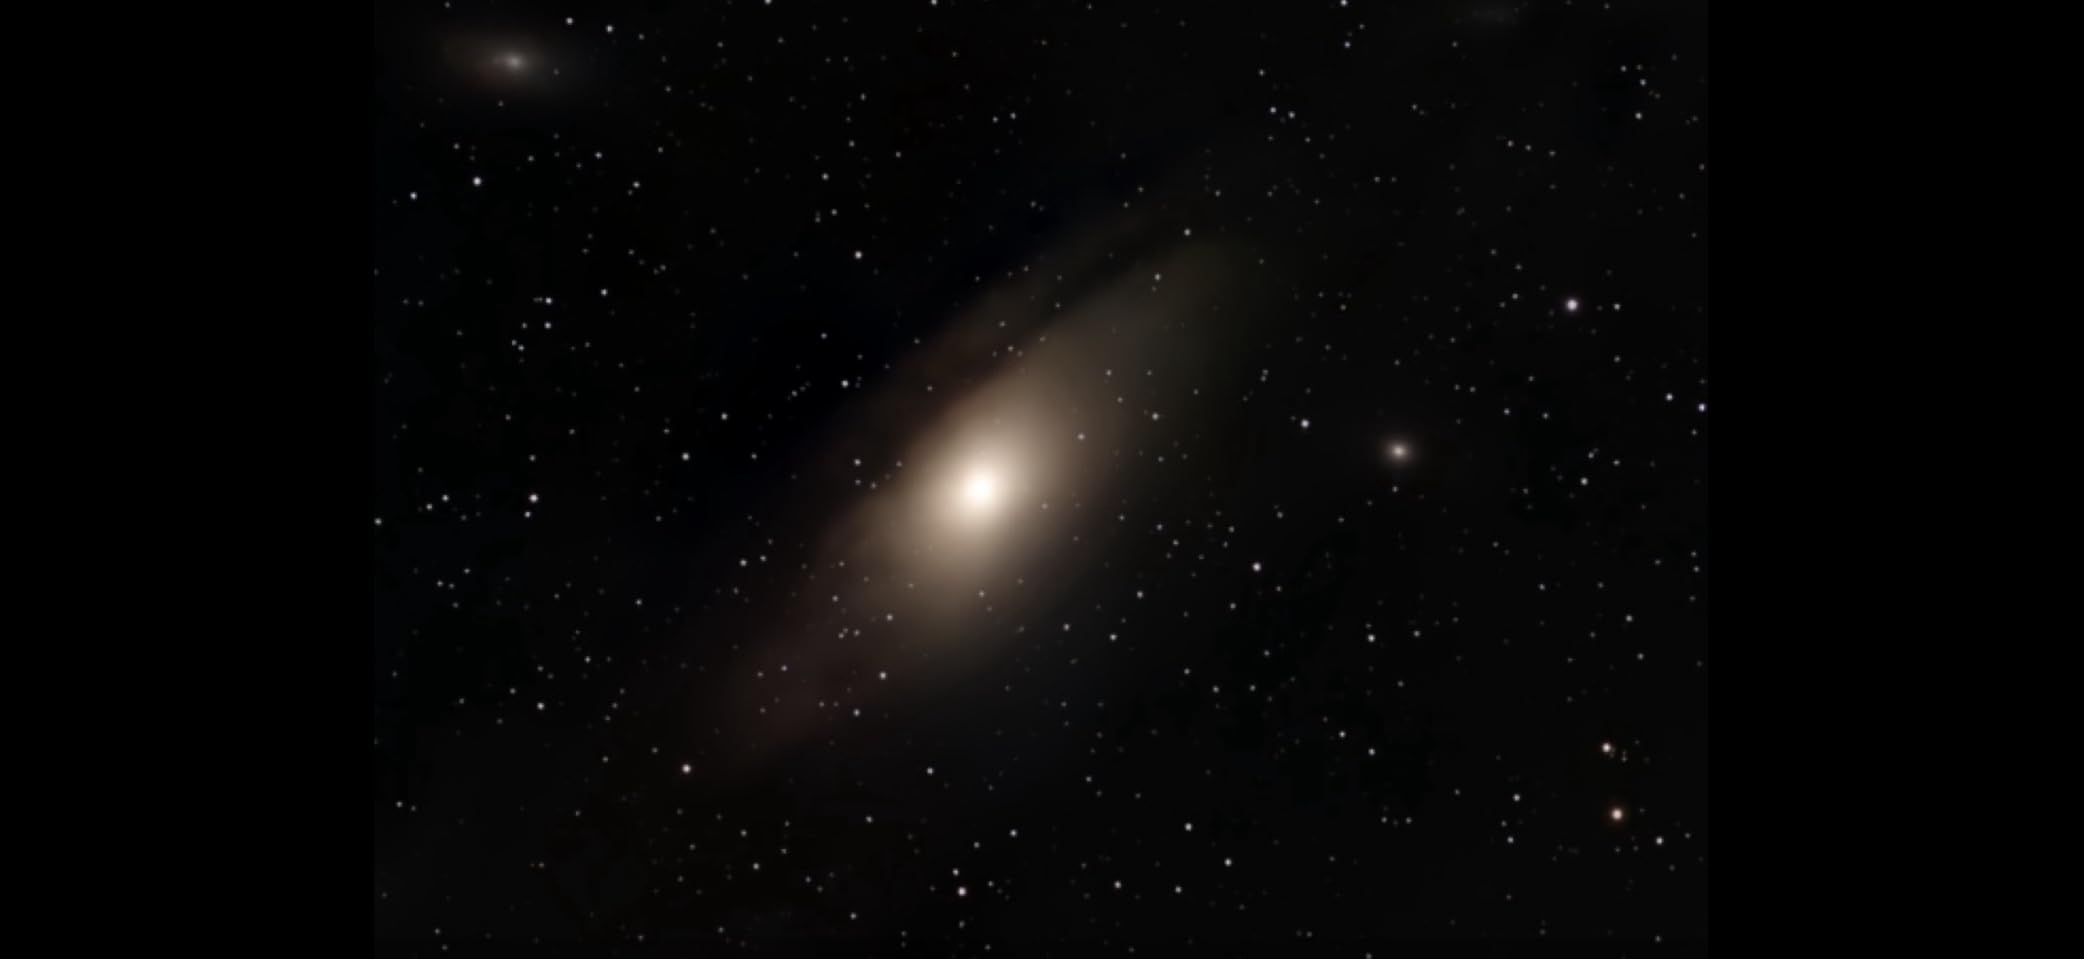
The 2.45-degree field of view is wide enough for larger deep-sky objects, which matters more than raw resolution. The Orion Nebula, the Andromeda Galaxy and big open clusters all fit comfortably, and the built-in light pollution filters are doing real work in bright neighborhoods.

How it handles a suburban backyard
We used it from a driveway with direct streetlight spill on one side, which is close to worst-case lighting. The stacked images of the Orion Nebula still showed structure in the core, and the result kept improving over a 40-minute session. That is the honest test of a light pollution filter, and this one passed.
Battery life is the practical limit. The internal battery runs for several hours, which covers a typical session, but an all-night run needs a power bank. The dark frame feature with the internal shutter is a nice touch, since it means calibration frames happen without you thinking about it.
EQ mode is worth trying once you have a fluid-head tripod. With polar alignment set, the 90-second exposures hold stars pinned and the field rotation problem mostly disappears. Without a stable tripod the same mode produces worse results than plain alt-az, which is why the fluid head matters more than the wedge itself.
What the small sensor costs you
Resolution is the honest limitation here. The IMX662 produces images that look great on a phone, a laptop or a small print, and owners consistently note that large photographic prints are not the goal. If you want wall-size output, this is the wrong instrument.
Small targets are the second limitation. Faint galaxies and compact planetary nebulae come out tiny, because a 30mm objective on a short focal length sees a modest slice of sky. The wide field is the strength and the limit at the same time, and you should buy this scope for big nebulae and Milky Way work rather than for pinpoint detail.
There is also a short learning curve once you leave the automatic modes. Manual exposure controls and EQ setup are documented but not hand-held, and a few users mention occasional WiFi connection hiccups that interrupt a session. In every other respect this is the most frictionless way we have found to get a real deep-sky image on your phone.
3. ZWO Seestar S30 Pro – Best for One-Tap Astrophotography
- Dual-camera 4K imaging system
- Apochromatic optics for clean star color
- One-tap capture for deep sky Moon and Sun
- Tripod and anti-dew protection included
- Not intended for planetary observation
- Advanced software settings take time to learn
- Battery limits very long sessions
The S30 Pro is the most automated scope we tested, and for a beginner who wants a finished image rather than a process, it is hard to argue with. You power it on, connect the app, pick a target and walk away. There is a Plan mode for framing, one-tap capture modes, and automatic mosaic stitching for anything too wide to fit in one frame.
Optically it steps above the rest of this group with apochromatic optics and fully multi-coated glass, so stars come out tighter and color fringing is reduced compared with cheaper refractors. The dual-camera 4K system handles the imaging, and AI smart imaging handles the noise reduction that would otherwise require a computer.
Two details make a real difference in the field. Its 4.6-degree field of view is wide enough that most popular nebulae fit in a single frame without mosaic mode. And the tripod is included, which removes the single most common surprise for first-time buyers of compact imaging gear.
Anti-dew protection is the other one. If you have ever watched a lens fog over in a humid evening, you know how quickly that ends a session, and the built-in heater is the difference between a productive night and an early night in bed.
Users regularly describe the workflow as smooth for deep-sky targets, and the Moon images come out well enough for social sharing without any editing. Several reviews specifically praise how well it handles bright urban skies thanks to the built-in light pollution filters.
Where the one-tap experience shines
The Milky Way mode is the standout. A single selection produces a wide-field night-sky image that would normally take an hour of manual shooting and stacking, and it is the fastest route to a result that makes people ask what you used. Star trails and time-lapse capture work the same way, one tap and a wait.
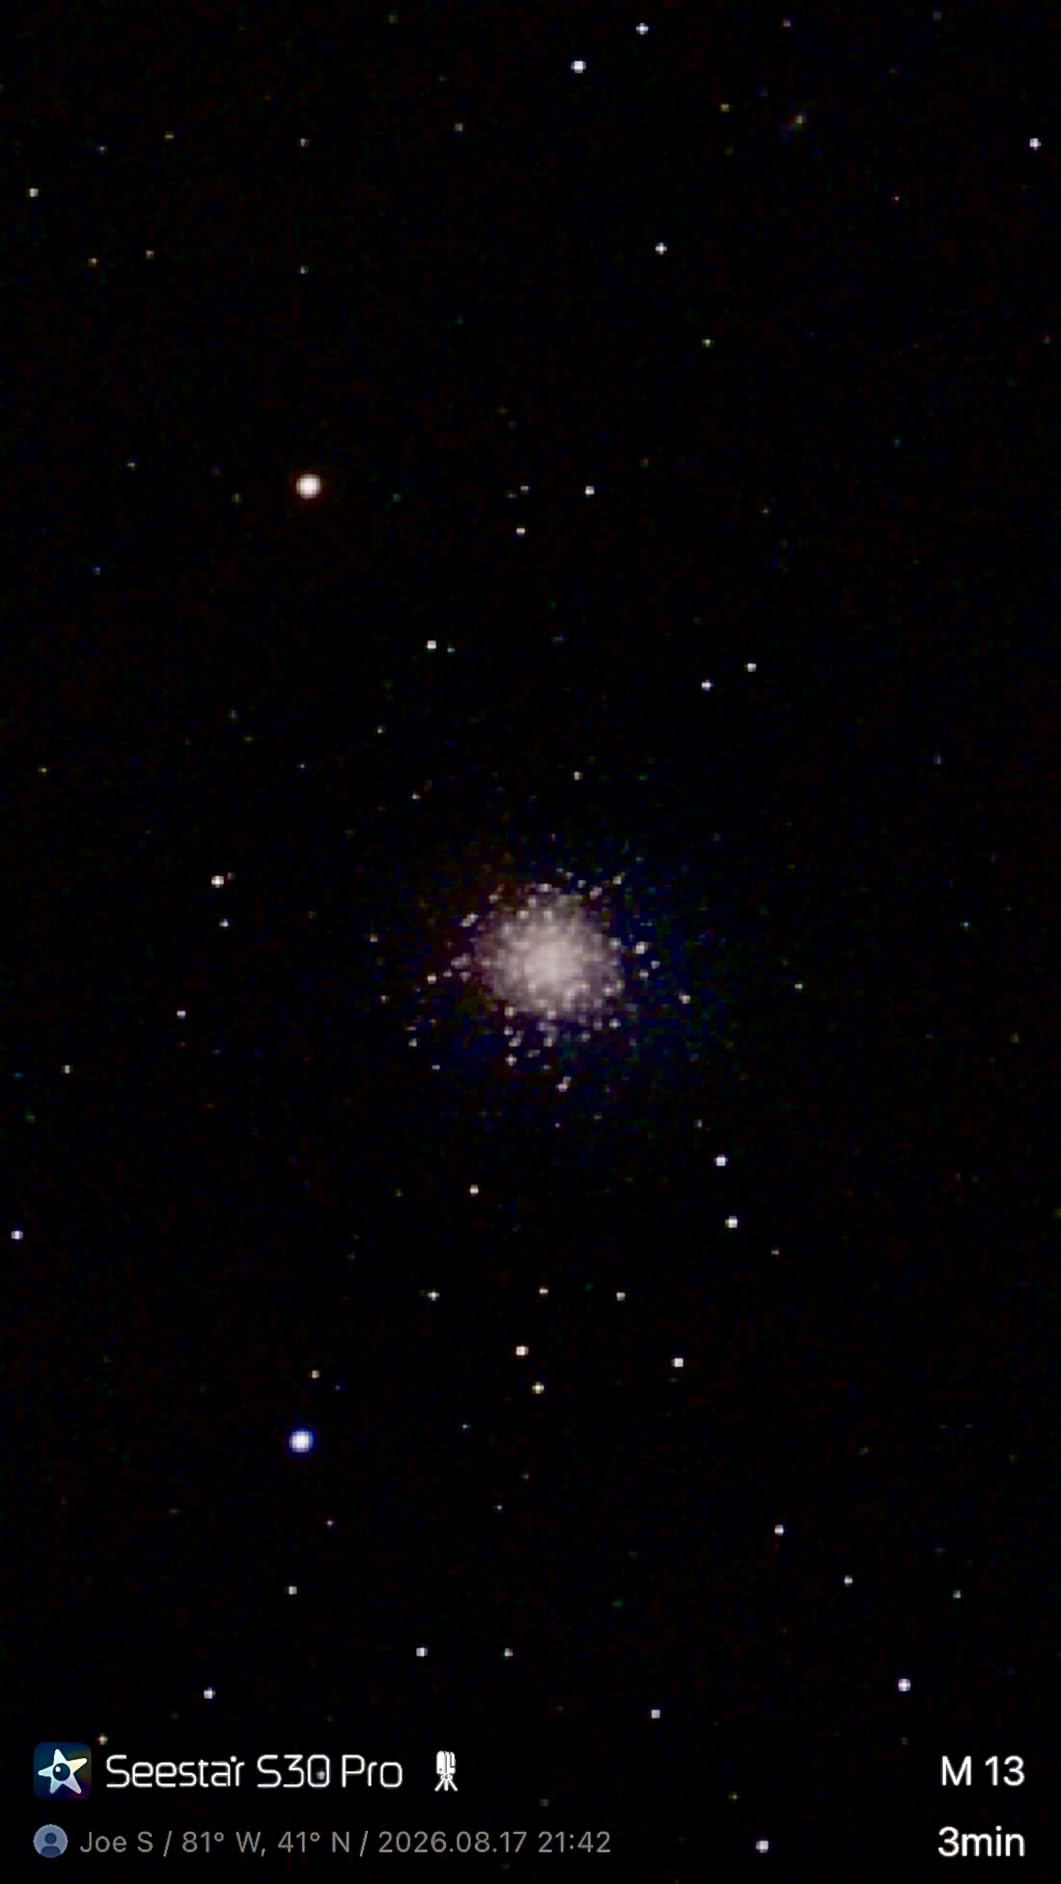
Wide-field deep-sky targets are the second strength. Because the field is wide, most popular nebulae sit in a single frame, and the mosaic mode is reserved for the rare target that does not fit. Owners using this in suburban conditions report good results on emission nebulae with the filters engaged.
Battery is the practical ceiling. The internal pack covers a typical two or three hour session, which is enough for most beginners, and a USB power bank extends it if you plan to run past midnight.
What it will not do for you
Planets are the clear gap, and the manufacturer does not pretend otherwise. A 30mm objective with a 160mm focal length is built for wide fields, so Jupiter and Saturn come out as small disks rather than detailed planets. If planets are your primary interest, this is the wrong scope and the Celestron models below are the right ones.
Advanced settings have a learning curve of their own. The automatic modes need no knowledge at all, but the exposure, gain and stacking controls underneath them reward a couple of hours of reading before they reward you with better frames.
Finally, deep-sky work through this scope wants a stationary setup. The mount is not designed to be carried between targets, so plan one target per setup and let it run. Used that way the S30 Pro delivers the best automated first images in this guide.
4. Celestron StarSense Explorer DX 130AZ – Best for Groups and Outreach
Celestron StarSense Explorer DX 130AZ Smartphone Guided Newtonian Telescope
- Largest aperture in this roundup at 130mm
- Parabolic mirror keeps views sharp and coma free
- Dual-axis slow motion controls aid tracking
- Handles urban light pollution better than smaller scopes
- Heaviest scope here at 18 pounds
- Some users report flimsy tripod knobs
- Limited altitude clearance makes zenith viewing awkward
The DX 130AZ is the scope to buy when several people will be looking at once, and experienced observers consistently name it the best beginner telescope in its class. The 5.1-inch parabolic primary mirror gathers far more light than anything else here, and brightness is exactly what limits small scopes in the backyard.
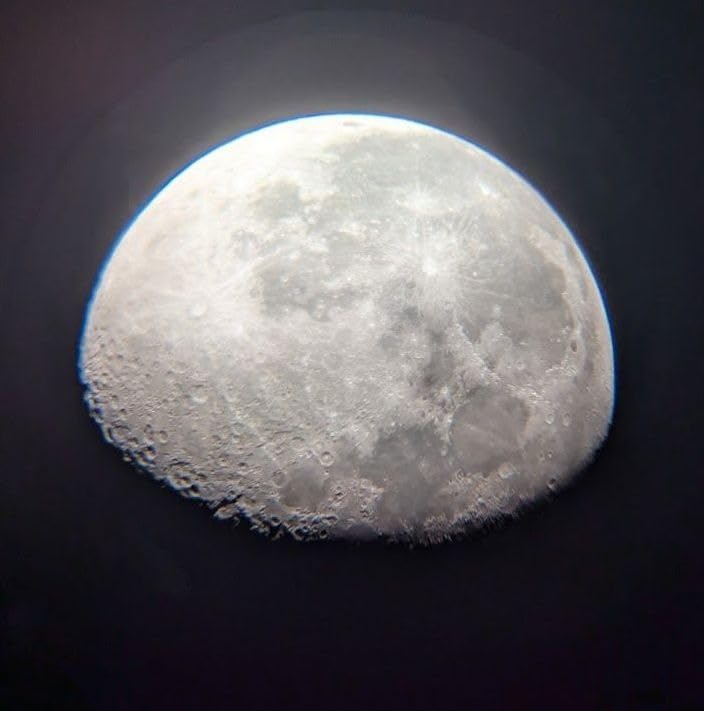
StarSense works the same way as the other Celestron models, docking your phone and identifying whatever the tube is pointed at. With this much light, the list of things worth pointing at opens right up. Faint galaxies begin to show shape, smaller nebulae become visible, and the Moon fills the field at low power with obvious crater relief.
Parabolic rather than spherical glass keeps stars sharp toward the edge of the field, which matters when you are panning across a target rather than sitting centred on it. The 25mm and 10mm eyepieces give 26x and 65x, and the dual-axis slow motion controls make following a drifting planet noticeably easier than a single-axis mount.
For outreach work this is the scope people hand to children and come away from. One person can still move the 18-pound unit, and the setup is quick enough to repeat in a different location, which is the practical test for sidewalk astronomy.
Users with dark-site experience rate the optical quality warmly, and the StarSense pointing accuracy is regularly described as exceeding what computerized GoTo mounts achieve. That is a meaningful claim from people who own both kinds.

What the extra aperture actually buys you
Light gathering scales with aperture, so moving from an 80mm refractor to this 130mm mirror is roughly 2.6 times the light. In practice that is the difference between seeing a fuzzy smudge and seeing spiral structure in a nearby galaxy, and between spotting the Orion Nebula as a smudge and picking out the shape of its core.
It also changes what works in a city. Brighter targets hold up under moderate light pollution, so the planets, the Moon, the Pleiades and the Andromeda Galaxy are all reliable from a suburban driveway with this scope in a way they simply are not with an 80mm refractor.
Amateur astronomers who upgrade past this category almost always start from a reflector of this size, and that is the strongest argument for buying it now if you already know visual astronomy is a long-term hobby for you.
Where the size becomes a problem
It is the heaviest scope in this roundup, and while one person can carry it, moving it between rooms or setting it up on uneven ground takes two people far more often than the smaller scopes do.
The tripod is the other recurring complaint. Some users report knobs that feel flimsy and can crack under tightening, and the mount is sensitive to bumps and wind at high power, so a stray foot can end a planetary session. Buyers often replace the tripod before anything else on this model.
There is also limited altitude clearance of roughly 65 to 70 degrees, which means objects near the zenith sit awkwardly at the top of the mount. It matters for a few targets in a long night and rarely matters for beginners in their first year.
One service note: some buyers report friction with warranty claims routed through the retail listing rather than the manufacturer directly. Register the product on the Celestron site when it arrives and that disappears. Like the other reflectors here it needs occasional collimation, which is a five-minute job once you have watched it done once.
5. Celestron StarSense Explorer LT 114AZ – Best for Lunar and Planetary Detail
Celestron StarSense Explorer LT 114AZ Newtonian Smartphone Guided Telescope
- 1000mm focal length gives real planetary magnification
- Strong 1571 review base
- Aluminum and silicon dioxide mirror coatings
- Altitude slow motion control aids tracking
- Manual tracking required
- 10.4 pounds is heavy for a first scope
- Reflector design needs occasional collimation
The LT 114AZ sits in the middle of the Celestron line and it is the one to buy if planets are the reason you are getting into this. The 1000mm focal length is far longer than anything else in this guide, and that length is what produces real magnification on distant planets rather than a bright blurry dot.
At 40x you can already watch the cloud bands on Jupiter shift across the disk and see the moons change position. Push past 100x with the 2x Barlow and Saturn’s rings separate cleanly, which is the view that convinces new observers the hobby is worth the money.
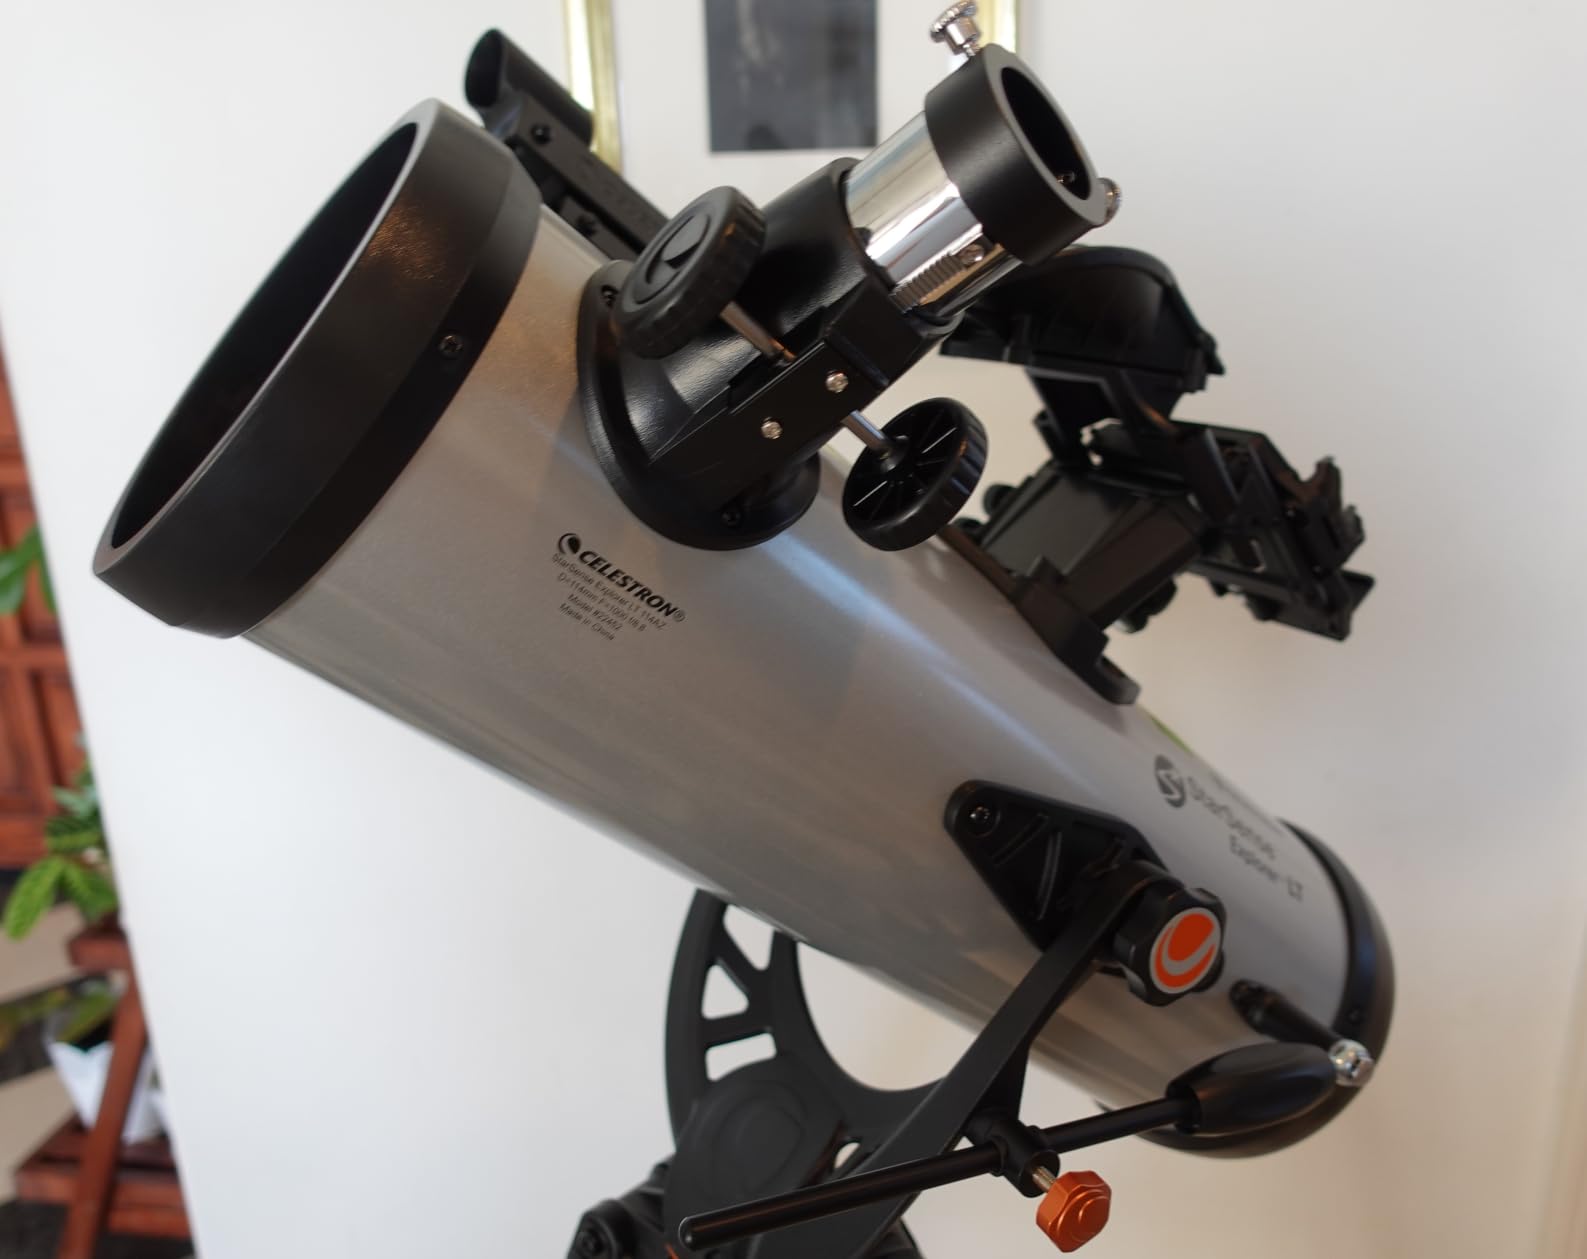
It shares the StarSense dock with the other models, so pointing works the same familiar way. With this much focal length the app guidance matters more, not less, because finding a planet by sweeping manually would take a lot longer.
The 4.5-inch reflector with aluminum and silicon dioxide mirror coatings holds up well for a first instrument, and the 10.4-pound weight sits between the light refractor and the heavy 130mm model. It is a genuinely complete kit: eyepieces, Barlow, red dot finder and preassembled tripod all in the box.
With more than 1500 reviews behind it, this is also the most thoroughly tested scope in the roundup, and that volume of long-term ownership reports is worth something when you are choosing your first instrument. Two years of US warranty and US-based support back it up.
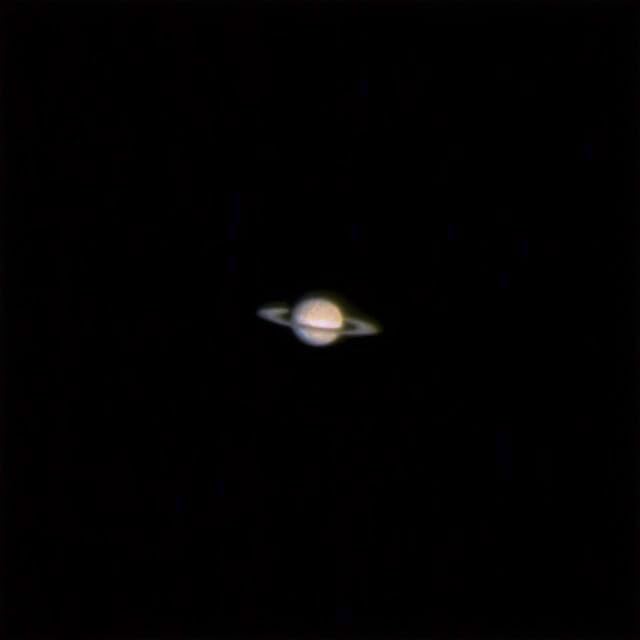
Why focal length beats aperture for planets
Aperture decides how bright and how detailed an image is. Focal length decides how much you can magnify before the image turns to mush. Planets need the second one, and this is the only scope here with the focal length to deliver it.
At 1000mm you get 40x and 100x from the included eyepieces, and 80x and 200x with the Barlow. A long focal length also produces a narrower true field, which makes finding a specific planet easier to manage and tracking easier to correct.
The Moon is the other strength. Terminator craters show fine relief at moderate power, and the long tube makes the contrast between the lit and shadowed edges one of the most striking views in amateur astronomy.
Where the trade-offs show up
Manual tracking is the constant. Planets drift noticeably at 100x, and the altitude slow motion control helps, but you will be correcting for it throughout a session. This is normal for a manual mount and it never fully goes away.
At 10.4 pounds it is heavy for a first scope, and the tripod is preassembled rather than quick-release, so moving it between setups is a two-person job more often than we would like. It is also a Newtonian, which means occasional collimation is part of owning it.
Your phone stays docked for the whole session, and this scope is purely visual. There is no imaging path here at all, so if you think you will want astrophotography within a year, weigh that against the Dwarf Mini or the S30 Pro before you commit.
6. DWARFLAB Dwarf 3 – Best for Daytime and Travel
DWARFLAB Dwarf 3 Smart Telescope, App-Controlled Astrophotography Camera
- Dual lens system handles both night sky and daytime subjects
- 4K auto-tracking for stars and planets
- Carrying bag and magnetic filters included
- Works with phone laptop or computer
- Altazimuth mount only with no EQ mode listed
- Cloud processing needs an internet connection
- Costs more than the Dwarf Mini for similar core imaging
The Dwarf 3 is the odd one out here, and that is exactly why it is worth considering. It is one of only two scopes here with a dual camera system, pairing a telephoto lens for deep-sky targets with a wide-angle lens for Milky Way panoramas and terrestrial subjects in daylight. The difference is that the Dwarf 3’s wide-angle camera also handles daylight, so the same device leaves the house during the day.
In practice the daytime capability is the reason families end up owning it. The same device that photographs the Moon at night will photograph birds, distant landscapes and wildlife during the day, which turns a stargazing tool into something everyone in the house uses.
At 3 pounds with a carrying bag, magnetic filters and a pouch in the box, it arrives as a complete travel kit. Owners cite a roughly two-minute path to first imaging, and the manufacturer rates it for ages 6 to 98, which is a reasonable summary of how little supervision it needs.
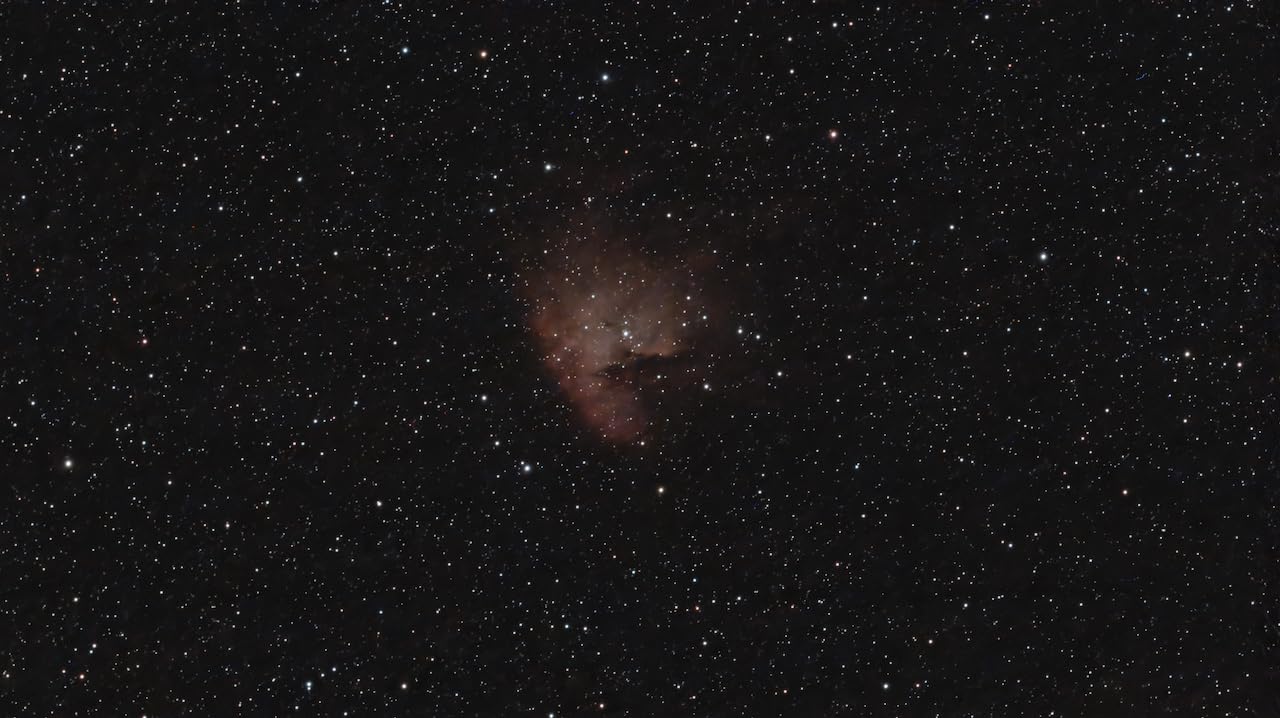
Cloud-powered processing means you press one button and the app returns a finished image, with no computer in the loop. For travel that matters more than it does at home, because a laptop in a field is one more thing to carry and one more thing that can fail.
Users on Reddit describe it as a capable first imaging rig, and the community consensus is clear about the brand split: Seestar wins on app simplicity, DWARFLAB on hardware capability per dollar, Celestron on optics. This model is where that hardware advantage is most visible.
4K auto-tracking is the headline feature, and it handles stars and planets as well as moving subjects. The wide-angle lens is what makes the Milky Way mode produce a genuine panorama rather than a crop.
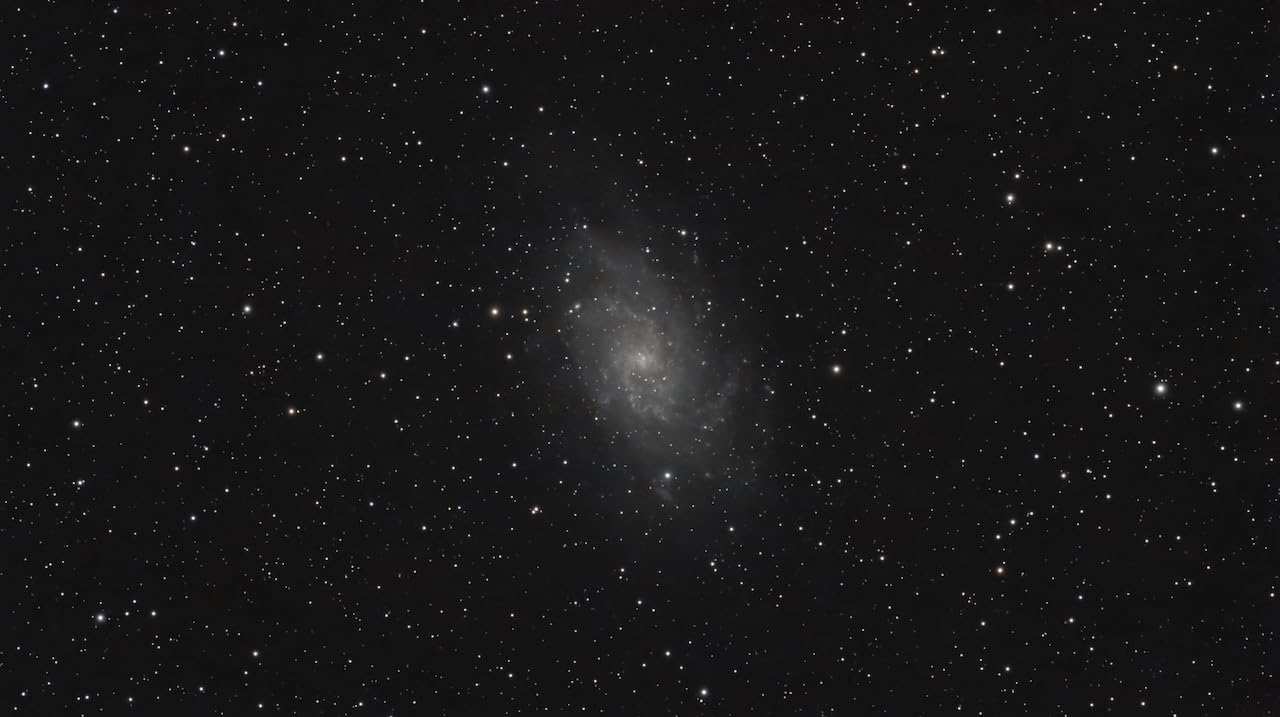
The dual camera system in real use
Switching between the two lenses is a software decision, not a physical one, which removes the fumbling that usually comes with changing optics in the dark. The telephoto side gives you a tight frame on a nebula with sensible detail, and the wide side covers a huge sweep of sky in one exposure.
For a beginner, the honest value of two lenses is that you do not have to choose between targets at purchase time. Whatever you want to photograph on your first night, one of the two lenses is aimed at it.
Daytime use is the quiet bonus. Because the app handles processing the same way in daylight, the scope works as a conventional automated camera for family outings, and several owners mention that this dual use is what justified the purchase to their family.
What you give up for it
The mount is the first limitation. It is listed as altazimuth only, and while DWARFLAB markets EQ capabilities elsewhere in the line, the spec sheet here does not list equatorial mode. That means field rotation is a permanent part of long sessions and the star trails will eventually show it.
The second limitation is connectivity. Cloud processing requires an internet connection, so a remote campsite with no signal means no finished image until you get back to coverage. For a device marketed on portability, that is an odd gap.
Finally, the cost per unit of capability is worse than the Dwarf Mini. You are paying more for the second lens, the daylight capability and the carrying case. If imaging quality is the only goal, the Mini delivers the same core experience for less, and we would only choose the Dwarf 3 when daytime photography is genuinely part of the plan.
How to Choose a Smart Telescope: 7 Criteria That Matter
Every scope above can produce a good first night, so the decision comes down to which kind of night you want. Work through these seven criteria in order and the answer usually becomes obvious by the third one.
1. Decide visual or imaging first
This is the only question that actually matters. If you want to look through the eyepiece and share the experience with family, you are choosing a Celestron StarSense refractor or Newtonian. If you want a finished photograph on your phone, you are choosing a DWARFLAB or ZWO scope and you should ignore eyepieces entirely.
Neither path is the better hobby. Visual observing is cheaper per night and has a much lower learning curve. Imaging produces something you can keep and share, and it grows into a deeper craft. Picking the wrong one is the expensive mistake.
2. Aperture governs how much you can see
Aperture is the diameter of the light-gathering opening, and brightness scales with the square of that number. Moving from 80mm to 114mm is about twice the light. Moving from 114mm to 130mm is another meaningful jump, and it is the difference between a smudge and a shape on most galaxies.
For the Moon and bright planets, 80mm is genuinely enough. For faint galaxies and nebulae, 114mm is the practical floor, and 130mm is where visual observing stops feeling limited.
3. Focal length governs magnification
Focal length is the distance light travels inside the tube, and magnification is roughly focal length divided by eyepiece focal length. The LT 114AZ at 1000mm produces real planetary detail. The Dwarf Mini at 150mm produces a wide field and nothing else.
These two criteria pull in opposite directions for imaging scopes, where a short focal length gives you wide fields of nebulae instead of magnified planets. Short focal length is the correct choice when you cannot take pictures of planets well at all.
4. App reliability matters more than the spec sheet
Every scope here depends on a phone app, and reviewers on r/telescopes and r/seestar raise the same concern: if the app has a bug or your phone dies, the telescope is unusable. A dead phone means no target selection and no plate solving.
Bring a charged power bank and keep the app updated before every session. If you are buying for someone who is not comfortable with software, favour the visual scopes, where the app is a guide rather than the only way to operate the instrument.
5. Mount type sets your session length
Manual alt-az mounts are simple, cheap and need no alignment. Their limit is that you correct drift by hand, which is fine for the Moon and workable for planets. Motorized tracking would be better, but none of the visual scopes here include it.
On imaging scopes the choice is alt-az versus equatorial. Alt-az works fine for sessions under an hour. Beyond that, field rotation starts bending your star trails, and an equatorial wedge plus a stable fluid-head tripod is the fix. Budget for both as accessories.
6. Filters decide what a bright backyard can reach
Both imaging scopes here include built-in light pollution filters, which is a meaningful advantage over older models. Narrowband filters are a separate purchase and only help with emission nebulae, so they are a second-year upgrade rather than a first-night one.
Check your sky before you buy. If you can see the Milky Way from your home, almost any of these scopes will work. If you cannot, plan on brighter targets and expect to travel once or twice a season to a darker site.
7. Count the accessories you have to buy separately
This is where first-time buyers get surprised, and it is the one question competitors rarely answer. The ZWO Seestar S30 Pro and the Dwarf 3 include a tripod, and the Dwarf Mini does not. An equatorial wedge is a separate purchase for any scope that supports EQ mode. Power banks, carrying cases, dew control and approved solar filters are additional line items in every setup.
For visual scopes, the accessory list is short because the kit is mostly complete: eyepieces, a Barlow, a finder and a preassembled tripod all ship in the box. The DX 130AZ is the exception, since owners frequently replace the tripod early.
Our broader telescope buying guide covers the visual side in more detail if you want a second opinion on aperture and focal length trade-offs before you commit.
Six Beginner Mistakes That Ruin the First Month
Most disappointing first impressions we have seen come from expectations rather than equipment. These six mistakes account for nearly all of them.
1. Expecting planets from an imaging scope. If you buy a wide-field camera telescope and then point it at Saturn, you will get a small disk and conclude the scope is faulty. Wide-field scopes are built for nebulae and the Milky Way. Planets need a long focal length, which means a visual scope like the LT 114AZ.
2. Judging the image at five minutes. Stacked images look rough early and sharp much later. Give a target a full 20 to 30 minutes before you decide whether the hardware is any good, and resist checking the screen constantly because the preview will only confirm what you already suspected.
3. Skipping equatorial mode entirely. Alt-az is fine for short sessions, but users who stack for an hour in alt-az end up with rotated star trails. If you plan long sessions, set aside time for polar alignment and buy the wedge and a fluid-head tripod together.
4. Buying the scope and nothing else. A missing tripod, a missing wedge or a missing power bank can stop a session before it starts. Add the accessories to the same purchase and you will actually use the thing on the first clear night.
5. Planning for galaxies from a bright backyard. Light pollution limits galaxies and reflection nebulae no matter how long you stack, because the limit is signal rather than noise. Bright targets, the Moon, planets and large nebulae are reliable. Save the faint galaxy hunting for a dark site.
6. Depending entirely on the app. If the phone dies mid-session, most of these scopes stop. Carry a charged power bank, learn where the manual focus and manual exposure controls are, and treat the app as the easy path rather than the only path.
One more safety point, because it is not obvious to a complete beginner: never point any of these telescopes at the Sun without a manufacturer-approved solar filter. Regular sunglasses and household film will not protect you, and the injury is permanent.
Frequently Asked Questions
What is the best computerized telescope for beginners?
The Celestron StarSense Explorer LT 80AZ is the easiest starting point. It needs no batteries, no motors and no alignment. You dock your phone, open the app, and it identifies whatever the scope is pointed at. For astrophotography instead of visual observing, the DWARFLAB Dwarf Mini is the beginner pick because it stacks images automatically.
Are smart telescopes worth it for beginners?
For most beginners, yes, because they remove the two hardest parts of astrophotography: accurate tracking and image processing. You get a usable deep-sky image in an evening without learning polar alignment, guiding or stacking software. The tradeoff is that you have no eyepiece and less manual control than a traditional rig offers.
Can smart telescopes see planets well?
Phone-guided visual scopes such as the Celestron StarSense LT 114AZ see planets well, because its 1000mm focal length produces real magnification at 40x to 200x. App-controlled imaging scopes are a different story. Their short focal lengths are built for wide nebulae fields, so planets appear as small disks rather than detailed worlds.
Do smart telescopes come with a tripod?
It depends on the model. The ZWO Seestar S30 Pro and the DWARFLAB Dwarf 3 include one. The DWARFLAB Dwarf Mini does not, and needs one with a fluid head before EQ mode works properly. All three Celestron StarSense models ship with a preassembled tripod, eyepieces, a Barlow lens and a finder scope.
How long does it take to set up a smart telescope and get a first image?
Phone-guided visual scopes take about ten minutes, since the tripod arrives preassembled and the tube is already mounted. App-controlled imaging scopes are faster to first light: owners report roughly two to three minutes from opening the app to a first stacked frame. The image keeps improving for 20 to 30 minutes, so plan on staying out longer than you expect.
Do I need an EQ wedge for a smart telescope?
Only for long imaging sessions. In alt-az mode the scope works well for the first hour, but the field of view rotates as the mount tracks, which curves star trails during longer stacking runs. An equatorial wedge fixes that, though polar alignment adds a learning curve. Try alt-az first and add the wedge once you regularly image past an hour.
Final Verdict: Which Smart Telescope Should You Buy?
The Celestron StarSense Explorer LT 80AZ is our best smart telescope for beginners in 2026. Nothing else in this guide gets a complete beginner from the box to a view of Jupiter with fewer decisions. It needs no power, no alignment and no software knowledge, and the StarSense app handles the one hard part of visual observing, which is knowing what you are looking at.
Buy the DWARFLAB Dwarf Mini instead if you want finished astrophotos, because at 1.85 pounds it is the one you will actually carry outside, and its light pollution filters hold up in a bright backyard. Buy the ZWO Seestar S30 Pro when you want the most automated experience, including a wider field, a tripod in the box and one-tap capture modes for the Milky Way, the Moon and the Sun.
Choose the Celestron DX 130AZ for the brightest views and for showing other people, the LT 114AZ when planets are your main interest, and the DWARFLAB Dwarf 3 when you want one device that also photographs during the day.
Whichever you pick, the accessories decide the experience. Sort the tripod, the equatorial wedge and a power bank before the first clear night rather than after it. And give the sky about three full months before you decide whether this is a hobby or a gadget, because three months is roughly how long it takes to get past the learning curve and start looking forward.