
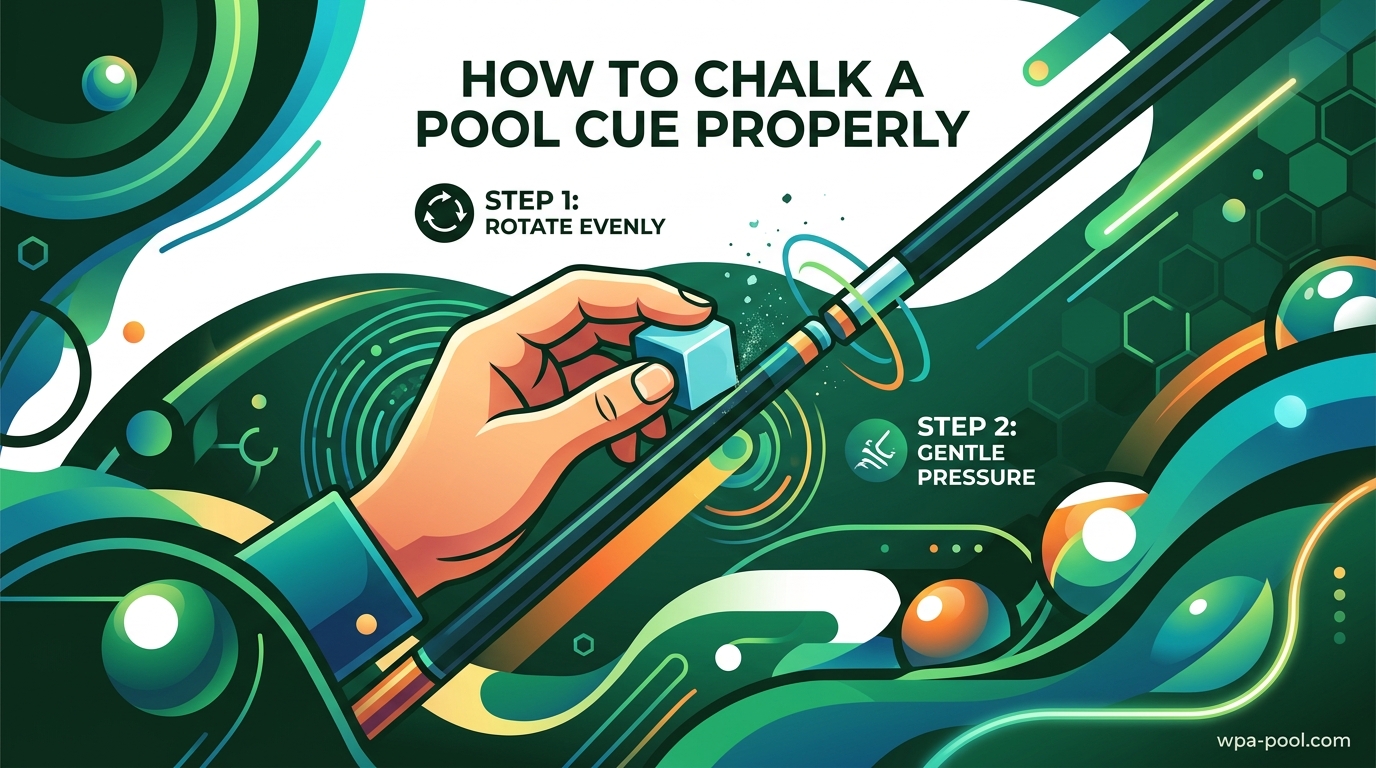
Learning how to chalk a pool cue properly is one of the most important skills every player needs, yet it is often overlooked by beginners. I have seen countless players at my local pool hall struggle with miscues and poor shot accuracy simply because they never learned the correct technique. Whether you are picking up a cue for the first time or looking to refine your game, proper chalking technique will instantly improve your control and confidence at the table.
In this guide, I will walk you through everything you need to know about chalking your pool cue the right way. We will cover the science behind why chalk matters, the step-by-step method that professionals use, common mistakes that sabotage your shots, and how to keep your chalk in perfect condition. By the end, you will never have to wonder if you are doing it right again.
Table of Contents
Why Chalk Matters for Every Pool Shot
Before diving into technique, let us understand what chalk actually does. Pool chalk is not just a tradition or something players do to look professional. It serves a critical mechanical purpose that directly affects every shot you take.
Your cue tip is made of compressed leather, which is naturally smooth. The cue ball is a polished sphere with very little friction. When you strike the cue ball with an unchalked tip, the smooth leather slides off the ball surface instead of gripping it. This sliding action causes a miscue, where the tip slips and sends the ball in an unpredictable direction.
Pool chalk contains silica crystals and abrasive compounds that create micro-roughness on your cue tip. When applied properly, these particles grip the cue ball surface, allowing the leather to make solid contact. This grip is what lets you apply English or spin to the ball, control your break shots, and maintain consistent accuracy. Without chalk, you are essentially trying to hit a smooth ball with a smooth surface, which is a recipe for failure.
Regular chalking also protects your cue’s ferrule, the collar just below the tip. Miscues can cause the edge of the ferrule to strike the ball, creating dents and damage over time. Proper chalking reduces these miscues and extends the life of your equipment.
How to Chalk a Pool Cue Properly: Step-by-Step Technique
Now for the core technique. I learned this method from a professional instructor after years of doing it wrong, and it changed my game immediately. Here is the exact process you should follow every time you chalk your pool cue.
Step 1: Position Your Cue at a Comfortable Angle
Hold your cue in your non-dominant hand with the tip pointing upward at about a 45-degree angle. This position gives you clear visibility of the tip surface and keeps the chalk dust from falling onto your clothes or the table.
Step 2: Use a Brushing Motion, Not Grinding
Take the chalk cube in your dominant hand and apply it to the cue tip with light, brushing strokes. Imagine you are gently painting the tip rather than scrubbing a dirty pan. The chalk should glide across the leather surface in smooth sweeps.
Many beginners make the mistake of grinding the chalk into the tip with heavy pressure and circular motions. This technique, sometimes called the “bow drill” method, creates excessive dust and squeaky noises. It also wastes chalk and can damage your tip over time. The brushing motion gives you even coverage without the mess.
Step 3: Cover the Entire Tip Surface
Work the chalk across the entire face of the tip, not just the center. You need coverage on the edges and sides where the tip makes contact with the cue ball during off-center shots. Rotate the cue slightly between strokes to ensure you are hitting all angles.
A properly chalked tip should have an even, matte coating with no shiny leather spots visible. The chalk layer should be thin but complete. You are looking for uniform color change, not a thick powder buildup.
Step 4: Check for Complete Coverage
After 3-5 seconds of light brushing, stop and examine your tip. Look for any leather showing through the chalk layer. The surface should look evenly coated with no bare spots or clumps.
If you see shiny areas, give those spots a quick touch-up with the chalk. If you see thick clumps, gently tap the cue against your hand to shake off the excess.
Step 5: Apply Light to Medium Pressure
Pressure matters more than most players realize. You want to press the chalk against the tip with about the same force you would use when writing with a pencil. Too light and you will not transfer enough chalk. Too heavy and you create dust clouds and waste material.
After thousands of shots over the past year, I have found that consistent medium pressure produces the best results. The chalk adheres properly without creating the gritty residue that falls all over the table.
Common Chalking Mistakes to Avoid
Even experienced players fall into bad habits with their chalking technique. Here are the most common errors I see at pool halls and how to fix them.
Over-chalking creates unnecessary mess. Many players believe that more chalk equals better grip, so they cake on thick layers. This excess chalk actually works against you. It falls off during your stroke, gets on the table cloth, and can even cause the tip to slip off the ball differently than no chalk at all. A thin, even layer is always better than a thick coating.
Grinding instead of brushing wastes chalk and damages tips. The high-pitched squeak you hear when someone grinds their chalk is a red flag. This aggressive technique wears down your tip faster, consumes chalk at twice the normal rate, and creates the dust clouds that make pool hall owners cringe. Switch to the brushing method and your equipment will last longer.
Neglecting the tip edges reduces spin control. When you apply English or side spin to the cue ball, the edge of your tip makes contact. If those edges are not chalked, you are more likely to miscue on spin shots. Always ensure your chalking covers the full diameter of the tip, not just the center.
Using worn or dirty chalk ruins your shots. Old chalk that has been sitting in a pocket for months can collect moisture, oil from hands, and debris. This contaminated chalk does not transfer properly to your tip and can actually make your grip worse. Replace your chalk regularly or keep it in a clean holder.
Wrong chalk color leaves visible marks. Using green chalk on a blue table, or vice versa, creates obvious marks on the cloth that annoy other players and pool hall owners. Match your chalk to the table felt whenever possible.
How Often Should You Chalk Your Cue?
The frequency question comes up constantly in pool halls and online forums. After analyzing advice from professional players and my own experience, here is the guidance that works.
Chalk before every shot. This is the golden rule that eliminates guesswork. It takes three seconds and ensures you never play with an unchalked tip. The few seconds spent chalking are worth avoiding even one miscue during a critical shot.
Break shots absolutely require fresh chalk. The force of a break shot makes miscues more likely and more dramatic. Always apply fresh chalk immediately before breaking, even if you just chalked for your previous shot.
Spin shots need extra attention. Any shot involving English, draw, or follow puts more demand on your chalk grip. If you are playing a sequence of spin shots, consider a quick re-chalk between each one for maximum control.
Watch for these warning signs. Your cue needs chalk when the tip looks shiny, when you notice reduced spin response, or when you feel the slightest hesitation in your stroke. Trust your instincts and chalk more often rather than less.
Choosing and Maintaining Your Chalk
Not all chalk is created equal, and proper storage makes a significant difference in performance. Understanding your options helps you make better choices.
Chalk composition affects performance. Most pool chalk contains silica, abrasive compounds, and binding agents. The ratio of these ingredients determines the hardness and grip level. Harder chalks like Master and Silver Cup create less dust but may require more frequent application. Softer chalks like Kamui adhere better and last longer between applications but can leave more residue.
Store your chalk properly to prevent moisture damage. Chalk is hygroscopic, meaning it absorbs moisture from the air. Wet chalk becomes crumbly, loses its grip properties, and can even mold. Store your chalk in a sealed container or zip-lock bag when not in use. Keep it away from drinks and humid areas.
Recovering wet chalk is possible with patience. If your chalk gets damp, do not throw it away immediately. Place the chalk cube in a dry, warm location with good air circulation. Some players use a low oven or food dehydrator on the lowest setting for 30 minutes. The chalk may not return to perfect condition, but it often becomes usable again once fully dried.
Replace chalk when it stops working. Over months of use, chalk accumulates oils from your hands and contaminants from the environment. If you notice chalk not sticking to your cue tip, creating clumps, or feeling gritty in a bad way, it is time for a fresh piece. Quality chalk is inexpensive, so replacement is not a major expense.
Chalk Color Matching and Pool Etiquette
Chalk color might seem purely aesthetic, but it affects both playability and politeness in shared spaces.
Match your chalk to the table felt when possible. Blue chalk on blue cloth, green on green, and so on. When chalk marks inevitably appear on the table surface, matching colors make them far less visible to players and spectators. This simple courtesy keeps the playing surface looking professional and clean.
Blue dominates for good reason. Blue chalk is the most common color because it matches the most popular table cloth color. Many pool halls standardize on blue specifically for this reason. If you play in multiple locations, carrying blue chalk ensures you are prepared for most situations.
Place chalk strategically at the table. Set your chalk on the rail or in a pocket within easy reach, but not where it can roll onto the playing surface or interfere with other players’ shots. Never set chalk directly on the table cloth where it can leave marks or be knocked onto the floor.
Clean up your chalk residue. After your session, use a damp cloth to wipe any visible chalk marks from the table rails and nearby areas. This small gesture shows respect for the equipment and the next players.
Frequently Asked Questions
How do you properly chalk a pool cue?
Hold the cue at a 45-degree angle and apply chalk with light, brushing strokes. Cover the entire tip surface including the edges. Use medium pressure for 3-5 seconds until the tip has an even, matte coating with no shiny leather spots visible. Avoid grinding or pressing too hard.
How often should you chalk your cue stick?
Chalk your cue before every shot as a general rule. Always apply fresh chalk before break shots and between spin shots requiring English or draw. If your tip looks shiny or you notice reduced grip, re-chalk immediately.
Is chalk ruined if it gets wet?
Wet chalk is not necessarily ruined. Dry the chalk cube in a warm, well-ventilated area or use a low oven at minimum heat for 30 minutes. While the texture may change slightly, properly dried chalk often remains usable. However, severely water-damaged chalk that crumbles or molds should be replaced.
What does rubbing chalk on a pool cue do?
Chalk creates friction between the smooth leather cue tip and the polished cue ball. The silica crystals in chalk grip the ball surface, preventing miscues and allowing you to apply spin, English, and precise control to your shots. Without chalk, the tip slides off the ball causing unpredictable results.
Can you chalk your cue too much?
Yes, over-chalking is a common mistake. Excess chalk creates dust that falls on the table, wastes material, and can actually reduce grip effectiveness. Apply a thin, even layer that covers the entire tip surface without building up thick powder. Quality beats quantity every time.
Why won’t chalk stick to my cue tip?
Chalk may not stick if your tip is glazed, hardened, or contaminated with oil. Try scuffing the tip surface lightly with fine sandpaper or a tip tool to restore texture. Also check that your chalk is not old, wet, or dirty. If problems persist, your tip may need replacement.
Should you chalk your cue after every shot?
Yes, chalking before every shot is the recommended practice. It takes only seconds and ensures consistent grip and prevents miscues. Making this a habit eliminates the risk of playing with an unchalked tip during critical shots.
Is there a wrong way to chalk a pool cue?
Yes, common wrong techniques include grinding the chalk into the tip with heavy pressure, covering only the center and ignoring the edges, using old or wet chalk, and applying thick layers that create dust clouds. The correct method uses light brushing strokes with medium pressure to create a thin, even coating.
Conclusion
Mastering how to chalk a pool cue properly is a simple skill that pays dividends every time you play. The brushing technique, proper coverage, and consistent frequency will eliminate miscues, improve your spin control, and extend the life of your equipment.
Remember the fundamentals: brush rather than grind, cover the entire tip surface, chalk before every shot, and keep your chalk dry and clean. These habits separate smooth players from the frustrated beginners constantly miscuing on simple shots.
Now that you know the proper technique, make it a consistent part of your pre-shot routine. Your game will thank you, and so will your fellow players who appreciate a clean table and confident opponent.