
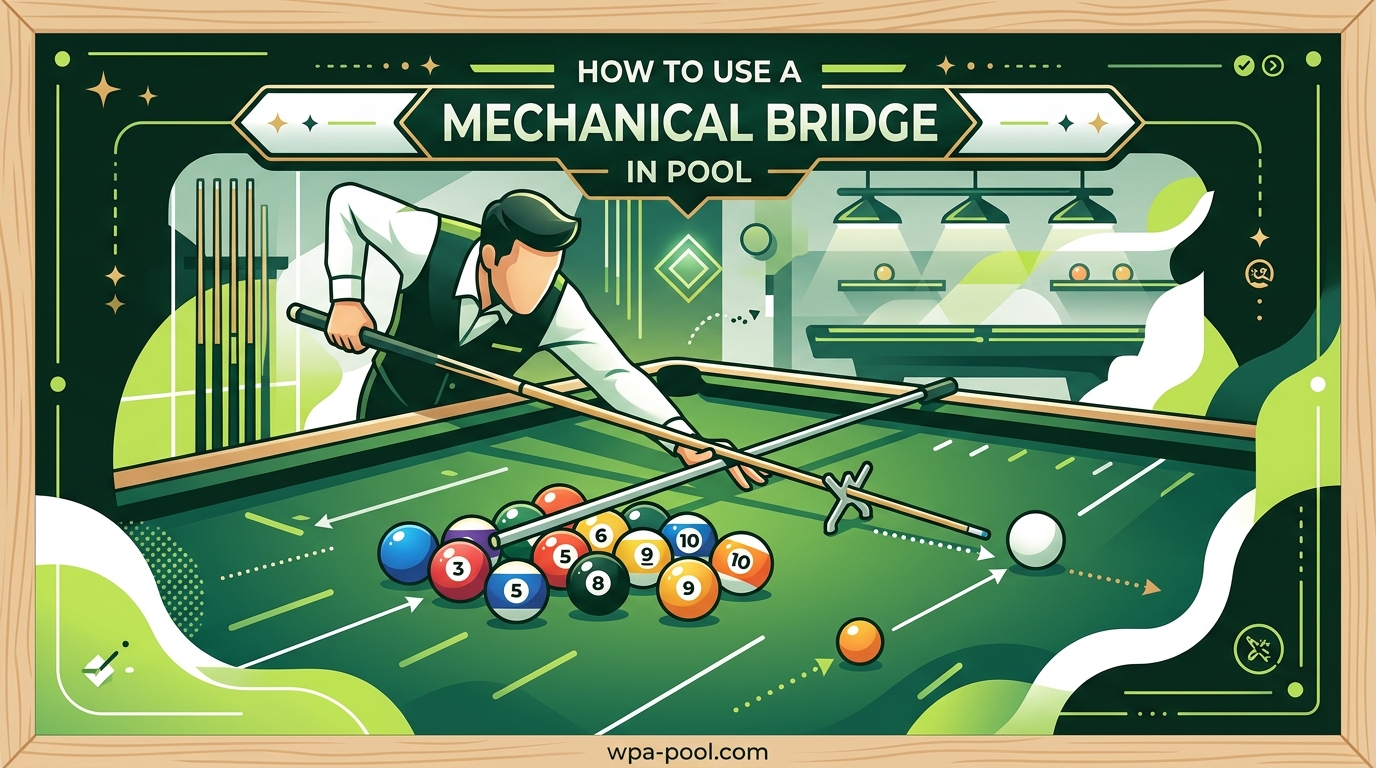
Picture this: you are lining up a perfect shot, but the cue ball is just out of reach. Your feet are planted, your stance feels right, yet stretching forward throws off your entire alignment. This is where knowing how to use a mechanical bridge in pool becomes essential.
I have been playing pool for over a decade, and I will tell you straight: the mechanical bridge is not a crutch. It is a legitimate tool that even professional players rely on when the shot demands it. Whether you are a beginner feeling awkward about reaching for the bridge or an intermediate player wanting to refine your technique, this guide covers everything you need to know.
You will learn the exact steps for positioning and using a bridge, common mistakes that ruin accuracy, and the official WPA rules that govern bridge usage in competition. By the end, you will approach those hard-to-reach shots with confidence instead of hesitation.
Table of Contents
What Is a Mechanical Bridge and When Should You Use It
A mechanical bridge, sometimes called a rake, crutch, or rest, is a pool accessory consisting of a stick with a specialized bridge head at the end. The bridge head contains grooves that support your cue stick when your hand cannot comfortably reach the cue ball.
You should reach for the mechanical bridge in several situations. Long shots where stretching would compromise your stance are the most common use case. Shots requiring you to cue over blocking balls or other obstacles also demand a bridge. Some players even use the bridge for breaking when they want more stable support at a specific bridge height.
Here is something important I want to address. Many players, especially newer ones, feel embarrassed about using a bridge. They worry it signals weakness or lack of skill. I have seen this sentiment repeatedly in pool halls and online forums. The truth? Using a bridge is no different than using a cue extension or wearing glasses. It is equipment designed to help you play your best. Professional players use bridges regularly for extreme shots. There is no shame in it whatsoever.
Snooker players actually tend to be better at bridge technique than pool players because snooker tables are larger and require more bridge usage. Pool players often avoid practicing with the bridge, which creates a self-fulfilling cycle of discomfort and poor results. Break that cycle by embracing the bridge as a normal part of your toolkit.
Step-by-Step: How to Use a Mechanical Bridge in Pool
Using a mechanical bridge correctly requires attention to several details. Follow these six steps to execute shots with the same precision you would get from a hand bridge.
Step 1: Align the Shot Before Positioning the Bridge
Stand behind the line of aim just as you would for any other shot. Visualize the path from cue ball to object ball to pocket. Get your stance comfortable without the bridge first. This alignment step is critical because once you place the bridge, your positioning options become limited.
Take your practice strokes in the air to feel the shot before committing. This mental preparation helps you maintain confidence when switching to the mechanical support.
Step 2: Position the Bridge Head Near the Cue Ball
With the bridge in your non-dominant hand, extend and place the bridge head on the table surface. Position it approximately 6 to 12 inches from the cue ball. The exact distance depends on your comfort and the shot type, but you generally want enough space for a smooth stroke without hitting the bridge head.
Make sure the bridge head sits flat and stable on the table. A wobbling bridge ruins accuracy before you even stroke the ball.
Step 3: Select the Right Groove for Your Shot
Mechanical bridge heads typically have multiple grooves designed for different shot types. The higher grooves work best for follow shots where you need to hit the cue ball above center. Middle grooves accommodate standard center-ball or stun shots. Lower grooves help with draw shots requiring below-center contact.
Selecting the wrong groove is a common error that produces unintended spin or miscues. Take a moment to confirm you have the cue positioned in the groove that matches your intended shot.
Step 4: Grip the Bridge Correctly
Place four fingers on top of the bridge stick with your thumb underneath for support. This grip gives you control without creating tension in your hand. Your grip should feel firm enough to keep the bridge steady but light enough to avoid shaking.
Keep your wrist relatively straight rather than bent sharply. A straight wrist transfers energy more efficiently and reduces strain during extended play sessions.
Step 5: Maintain Proper Elbow Angle and Stance
Position your elbow at approximately a 45-degree angle. This angle provides the best combination of stability and range of motion for your stroke. Too straight and you lose power. Too bent and you sacrifice control.
Your body stance should feel balanced even though you are reaching. Keep your feet planted firmly and your weight distributed comfortably. Do not lean so far that you feel off-balance.
Step 6: Execute a Full Follow-Through
Stroke the cue ball with the same follow-through you would use with a hand bridge. Many players make the mistake of shortening their stroke or lifting the cue early when using a mechanical bridge. Your cue tip should continue forward naturally after contacting the ball.
Follow-through ensures the cue ball receives the intended spin and speed. Cut the stroke short and you will get inconsistent results.
Common Mistakes to Avoid When Using a Bridge
After watching hundreds of players use mechanical bridges, I have identified the most frequent errors that destroy accuracy. Avoiding these mistakes will immediately improve your bridge game.
Gripping the Cue Too Tightly
Tension is the enemy of a smooth stroke. When players feel awkward with the bridge, they often compensate by squeezing the cue stick. This tight grip creates jerky movements and reduces feel. Maintain a relaxed grip pressure similar to what you use with a hand bridge.
Choosing the Wrong Groove
As mentioned earlier, groove selection matters. Players in a hurry sometimes drop the cue into the first groove they see. This lazy habit leads to miscues and unintended spin. Always match the groove to your shot type.
Placing the Bridge Head Too Close to the Cue Ball
Crowding the cue ball limits your backswing and creates a jerky stroke. Give yourself adequate space between the bridge head and the cue ball. Six to twelve inches works for most shots, though personal preference and table conditions may vary.
Failing to Follow Through
The mental barrier of using a bridge causes many players to punch at the ball rather than stroke through it. Commit to a full, smooth follow-through on every shot. Your results will improve dramatically.
Lifting Your Head Too Early
Just like with regular shots, keep your head down and eyes on the cue ball through contact. The temptation to see the result immediately is strong, especially on difficult bridge shots. Resist it. Stay down until the cue ball is gone.
WPA Rules for Mechanical Bridges
The World Pool-Billiard Association governs competitive pool play worldwide. As of 2026, WPA rules confirm that mechanical bridges remain legal equipment for all sanctioned events.
According to these regulations, players may use a bridge at any time during their inning without restriction on frequency. You can use the bridge ten times in a single rack if the situation demands it. There is no limit.
The bridge head must make contact with the bed of the table or the playing surface. You cannot hold the bridge in the air while shooting. Additionally, only the bridge head may touch the table. Your hand gripping the bridge stick must remain off the playing surface.
Some players mistakenly believe bridges are only for beginners or casual play. WPA rules confirm they are fully legal in professional competition. The bridge is simply another tool in your equipment bag, like chalk or a cue extension.
Do Professional Pool Players Use a Bridge?
Yes, professional players absolutely use mechanical bridges. While many pros prefer cue extensions for added reach, they still reach for the mechanical bridge in specific situations. Extremely long shots where even an extension cannot provide proper bridging require the mechanical bridge. Shots requiring cueing over blocking balls also demand bridge usage regardless of player skill level.
I have watched professional tournaments where world-class players calmly walk to the wall, grab the house bridge, and execute perfect shots. There is no hesitation or apology in their movements. They treat the bridge as standard equipment because that is exactly what it is.
Snooker professionals are particularly skilled with bridges due to the larger table size. Pool players can learn from this approach. The bridge is not a last resort. It is a strategic option for specific shot scenarios.
Frequently Asked Questions
What are the rules for mechanical bridges in pool?
According to WPA rules, mechanical bridges are legal equipment that can be used without restriction during your inning. The bridge head must rest on the table surface, and your gripping hand must stay off the playing surface. There is no limit to how many times you can use a bridge in a single game.
What is the correct way to use a pool bridge?
The correct technique involves six steps: align your shot first, position the bridge head 6-12 inches from the cue ball, select the appropriate groove for your shot type, grip with four fingers on top and thumb underneath, maintain a 45-degree elbow angle, and execute a full follow-through.
How many times can you use a bridge in a pool?
There is no limit to bridge usage in pool. WPA rules allow players to use a mechanical bridge as many times as needed during their turn. You could theoretically use the bridge for every shot in a rack if the situation required it.
Do pro pool players use a bridge?
Yes, professional players use mechanical bridges regularly. While many prefer cue extensions for added reach, they still use mechanical bridges for extremely long shots or when cueing over obstacles. Using a bridge is standard practice at all skill levels.
Final Thoughts
Learning how to use a mechanical bridge in pool opens up shots that would otherwise be impossible or uncomfortable. The technique is straightforward once you understand the steps: align, position, groove selection, grip, stance, and follow-through.
Stop avoiding the bridge out of pride or embarrassment. Professional players use them. WPA rules fully permit them. They are standard equipment designed to help you play better pool. Spend thirty minutes practicing with a bridge during your next session. Work through each step methodically. Soon those long reach shots will feel like any other shot in your repertoire.
The mechanical bridge is a tool. Use it well, and your game will improve.