
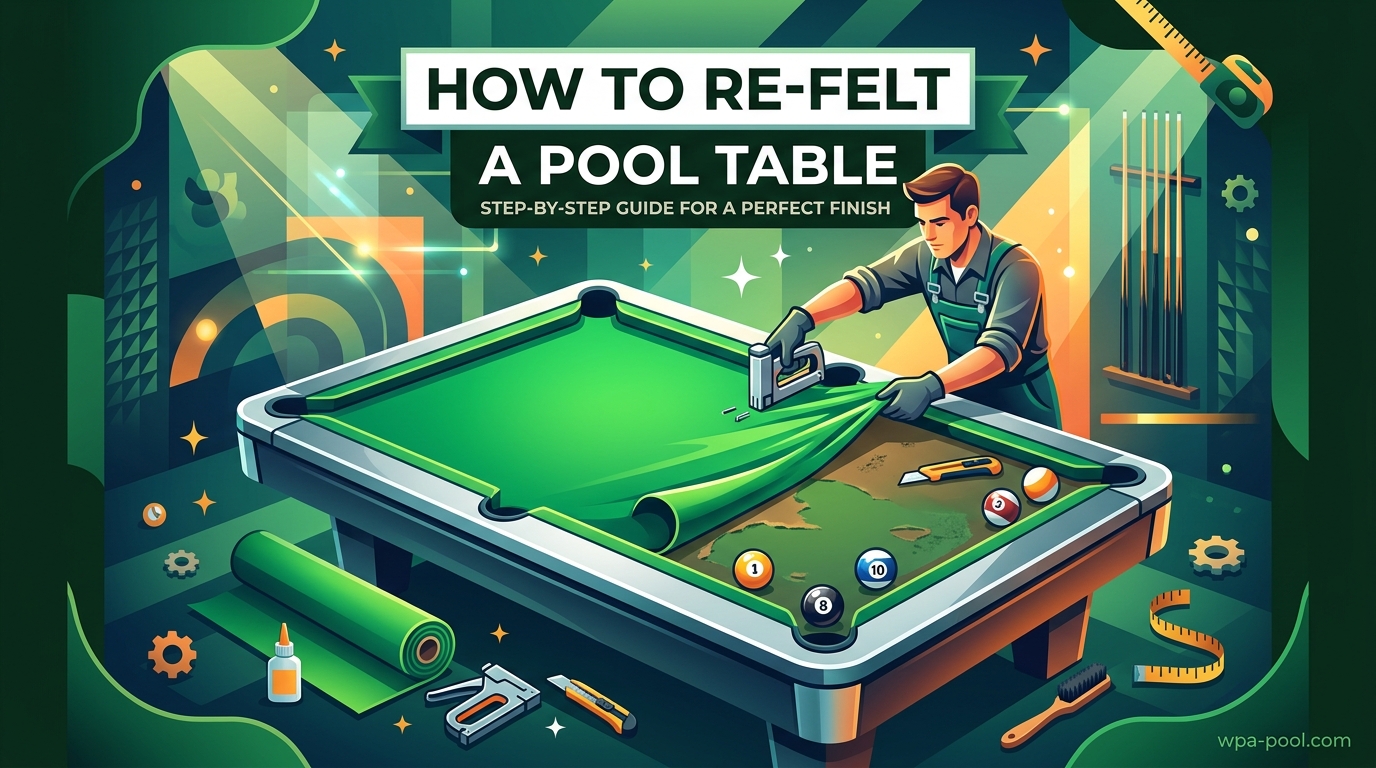
I spent my first weekend of spring 2026 learning how to re-felt a pool table the hard way. My 8-foot slate table had dead spots where balls would roll to a stop unexpectedly, and the rails had become so slow that even a firm stroke could not make it across. After calling three local installers who quoted between $300 and $450, I decided to tackle the job myself.
This guide walks through exactly what I learned during that 11-hour weekend project. Whether your felt is stained, torn, or just worn down from years of play, knowing how to re-felt a pool table yourself can save hundreds of dollars and restore your table to professional playing condition. The process requires patience more than special skills, and most mistakes can be fixed before you finish.
Table of Contents
Is Felting a Pool Table Hard?
Replacing pool table felt is moderately difficult but entirely achievable for anyone with basic DIY experience. The physical work is straightforward: removing staples, stretching cloth, and stapling it down. The challenge lies in getting the tension right so your playing surface stays smooth without wrinkles or bubbles.
My first attempt took 11 hours spread across a Saturday and Sunday. A professional installer can complete the same job in 3 to 4 hours. Your second refelting, armed with experience, should take 6 to 8 hours. The hardest part is stretching the felt tight enough while keeping it wrinkle-free—a skill that improves with practice.
Tools and Materials Needed
Gathering the right tools before you start prevents frustrating trips to the hardware store mid-project. Here is everything you need to re-felt a pool table:
- Staple gun – Heavy-duty model with 1/4 to 3/8 inch staples
- Staple remover – Essential for pulling thousands of old staples
- Screwdrivers – Phillips and flathead for rail bolts
- Socket set – For removing rail hardware underneath
- Measuring tape – To cut felt to correct dimensions
- Razor blade or utility knife – Sharp blades for clean cuts
- Spray adhesive – 3M77 is the standard choice
- Clean rags – For wiping slate and removing debris
- Shop vacuum – For thorough cleaning
- Cloth puller tool – Highly recommended for stretching felt
- Level – Machinist level for checking slate
- Pool table felt – Buy 20% extra to account for mistakes
For table sizing help, reference our pool table dimensions guide to ensure you purchase the correct amount of felt for your specific table size. Also check our homepage for more pool table care guides and product reviews.
How to Re-Felt a Pool Table: Step-by-Step Process
Follow these steps in order. Skipping ahead or rushing the stretching phase will result in wrinkles that ruin your playing surface.
Step 1: Prepare Your Work Area
Clear at least three feet of space around your entire pool table. You need room to move freely while handling large pieces of felt. Cover your floor with a drop cloth to catch staples, dust, and adhesive overspray.
Ensure your workspace maintains a temperature between 60 and 70 degrees Fahrenheit. Temperature affects how the felt stretches and how adhesive sets. Working in a cold garage or hot sunroom can cause problems later.
Step 2: Remove the Pool Table Rails
Locate the bolts underneath the rails and remove them with your socket wrench. Most tables have three to six bolts per rail section. Keep these organized in labeled containers—nothing slows reassembly like hunting for missing hardware.
Lift the rails off carefully and set them on a clean surface where you will not trip over them. Some tables have one-piece rails; others have separate head and side rails. Take photos before disassembling if you are unsure how they fit together.
Step 3: Remove the Old Felt
Pool table owners on forums describe this step as battling “one billion staples.” The old felt is secured with hundreds of staples along the perimeter, and removing them all takes time and patience.
Use your staple puller to remove each staple without gouging the wood frame. Work from the center outward, pulling the felt away as you clear staples. If the felt was glued, you may need to scrape residue with a plastic putty knife to avoid scratching the slate.
Dispose of old felt in a trash bag immediately. The wool fibers get everywhere and make cleanup harder if left sitting.
Step 4: Clean and Inspect the Playing Surface
Vacuum the slate thoroughly with your shop vac. Remove every speck of dust, old chalk, and staple fragments. Even tiny debris will create bumps under your new felt that you will feel every time a ball rolls over them.
Inspect the slate for cracks or chips. Minor imperfections can be filled with slate dust mixed with wood glue, then sanded smooth. Check that the table is level using a machinist level placed on the slate surface.
A trick from professional installers: lightly mist the slate with water using a spray bottle. Water will pool in low spots, showing you exactly where leveling compound is needed.
Step 5: Install the New Felt
Pool table felt has a nap—a directional texture that affects ball roll. The nap should point from the foot of the table (where you break) toward the head. Check this by running your hand across the felt; it feels smoother in one direction. Mark the foot end of your cloth before unrolling.
Center the felt over the table with equal overhang on all sides. If using spray adhesive, apply a light coat to the slate only—not the felt. Wait 30 seconds for the adhesive to become tacky, then lay the felt down starting from the center and working outward.
Step 6: Stretch and Secure the Felt
This is where most DIY refelting projects succeed or fail. The felt must be tight enough to feel like a drum when tapped, but not so tight that it tears or pulls away from staples.
Start at the center of the foot end. Pull the felt firmly toward you and staple once in the middle. Move to the head end and do the same, stretching the length tight. Work back and forth between ends, adding staples every few inches while maintaining tension.
For the sides, work from the center outward toward the corners. This center-out approach prevents wrinkles from forming in the middle of your playing surface. A cloth puller tool grips the felt and lets you apply consistent pressure without hand fatigue.
Watch for wrinkles as you go. If you see one forming, pull the area tighter before stapling. Once a section is stapled, fixing wrinkles requires removing staples and starting over.
At the pockets, cut the felt in a Y-shape from the pocket opening, leaving flaps to wrap around and staple underneath. Do not cut too close to the edge or you will create gaps.
Step 7: Reattach the Rails
If your rails need their own cloth replaced, do that before reinstalling them. Most rail systems use a feather strip—a thin piece of wood that wedges the cloth into a groove. Pry up the old strip, remove worn cloth, and staple new cloth underneath before hammering the strip back.
Place the rails back onto the table in their original positions. Hand-tighten all bolts first to ensure proper alignment, then tighten fully with your socket wrench. Check that the rails sit flush against the playing surface with no gaps.
Felt Types: Simonis vs Standard Cloth
Choosing the right cloth impacts how your table plays for years. Experienced players on billiards forums consistently recommend Simonis cloth for its consistency and durability.
Simonis 860
Simonis 860 is the standard for professional tournament play. Made from 70% worsted wool and 30% nylon, it provides fast, accurate ball roll with minimal nap direction effect. It costs more than standard cloth but lasts longer and plays better.
Simonis 760
Simonis 760 has a tighter weave and plays even faster than 860. Some players find it too fast for casual home use. Choose 760 if you prefer speed and your stroke control is solid.
Standard Woolen Blend
Standard woolen-blend felt costs roughly half the price of Simonis. It has more nap, meaning balls pick up slight directional bias as they roll. For your first refelting project, standard cloth is a reasonable choice—any mistakes cost less to fix.
Stapling vs Gluing Method
Two methods secure pool table felt: stapling and gluing. Most slate tables use staples because they hold better long-term and allow easier re-felting in the future. Spray adhesive works for some MDF tables or as a temporary hold before stapling.
If you use adhesive alone, apply it sparingly. Too much creates hard spots under the felt. The hybrid approach—light adhesive mist to position the felt, then staples for permanent hold—gives the best results.
Common Mistakes to Avoid
Learning from other DIYers’ failures saves you hours of frustration. These are the most common errors during pool table refelting:
- Underestimating time – First-timers should plan a full weekend, not a Saturday afternoon.
- Wrong nap direction – Always run nap toward the head of the table.
- Over-stretching – Pulling too hard tears felt or causes it to pull free from staples.
- Not buying enough felt – Order 20% extra for mistakes and proper draping.
- Rushing the corners – Poor pocket cuts create gaps or wrinkles that never smooth out.
- Skipping the cleaning – One staple fragment under new felt ruins ball roll permanently.
Cost Comparison: DIY vs Professional
Pool table refelting cost varies significantly depending on whether you do it yourself or hire a professional installer.
A DIY refelting costs between $100 and $300. Budget felt runs $50 to $100; Simonis cloth costs $150 to $250 depending on table size. Tools add $50 to $100 if you do not already own them, though most DIYers have basic tools on hand.
Professional refelting ranges from $250 to $500 for a 7-foot table, and $300 to $600 for an 8-foot or 9-foot regulation table. Simonis cloth installation costs more, and some pros charge extra for rail replacement.
Hire a professional if your table has sentimental value, if the slate needs leveling, or if you want guaranteed results without the learning curve. For standard tables and budget-conscious owners, DIY refelting delivers professional-quality results with patience and attention to detail.
Frequently Asked Questions
How much does it cost to refelt a 7 ft pool table?
DIY refelting a 7-foot pool table costs $100 to $300 depending on felt quality. Budget woolen blend felt runs $50 to $100, while professional Simonis cloth costs $150 to $250. Professional installation ranges from $250 to $500 for a 7-foot table, with premium cloth adding to the total.
Is felting a pool table hard?
Refelting a pool table is moderately difficult but achievable for anyone with basic DIY skills. The process requires patience more than special expertise. First attempts typically take 10 to 12 hours, while experienced DIYers complete the job in 6 to 8 hours. The most challenging part is stretching the felt tight enough without creating wrinkles.
How to revive pool table felt?
Before replacing felt, try revival methods: brush the surface with a pool table brush to restore nap direction, vacuum lightly with a soft attachment to remove chalk dust, use a damp cloth with woolite solution to clean stains, and apply a felt rejuvenator spray to restore bounce. If the cloth has dead spots, tears, or severe wear, replacement is necessary.
How long does it take to re-felt a pool table?
A first-time DIY refelting takes 10 to 12 hours spread across two days. Professional installers complete the job in 3 to 4 hours. With experience, your second refelting should take 6 to 8 hours. Time varies based on table size, number of pockets, and whether rail cloth also needs replacement.
Conclusion
Learning how to re-felt a pool table yourself saves hundreds of dollars and gives you a playing surface tailored to your preferences. The seven-step process—preparation, rail removal, old felt removal, cleaning, installation, stretching, and reassembly—requires patience but no specialized skills.
Choose your felt wisely, work in a climate-controlled space, and stretch carefully to avoid wrinkles. Your first attempt will take a full weekend, but the satisfaction of breaking on a fresh, smooth surface you installed yourself makes every hour worthwhile.