
Have you ever watched a skilled pool player make the cue ball bend around an obstacle ball as if by magic? That graceful arc, defying the straight-line path we expect, is one of the most captivating shots in billiards. I remember the first time I successfully executed a curve shot after weeks of practice. The ball curved exactly where I wanted it to go, and I finally understood why the cue ball curves and how to control it.
In this guide, I will explain the physics behind cue ball curve, why it happens, and how you can master this technique in your own game. Whether you are struggling with unintentional curves or want to learn the massé shot, this article covers everything you need to know.
Table of Contents
The Short Answer: Why Does the Cue Ball Curve?
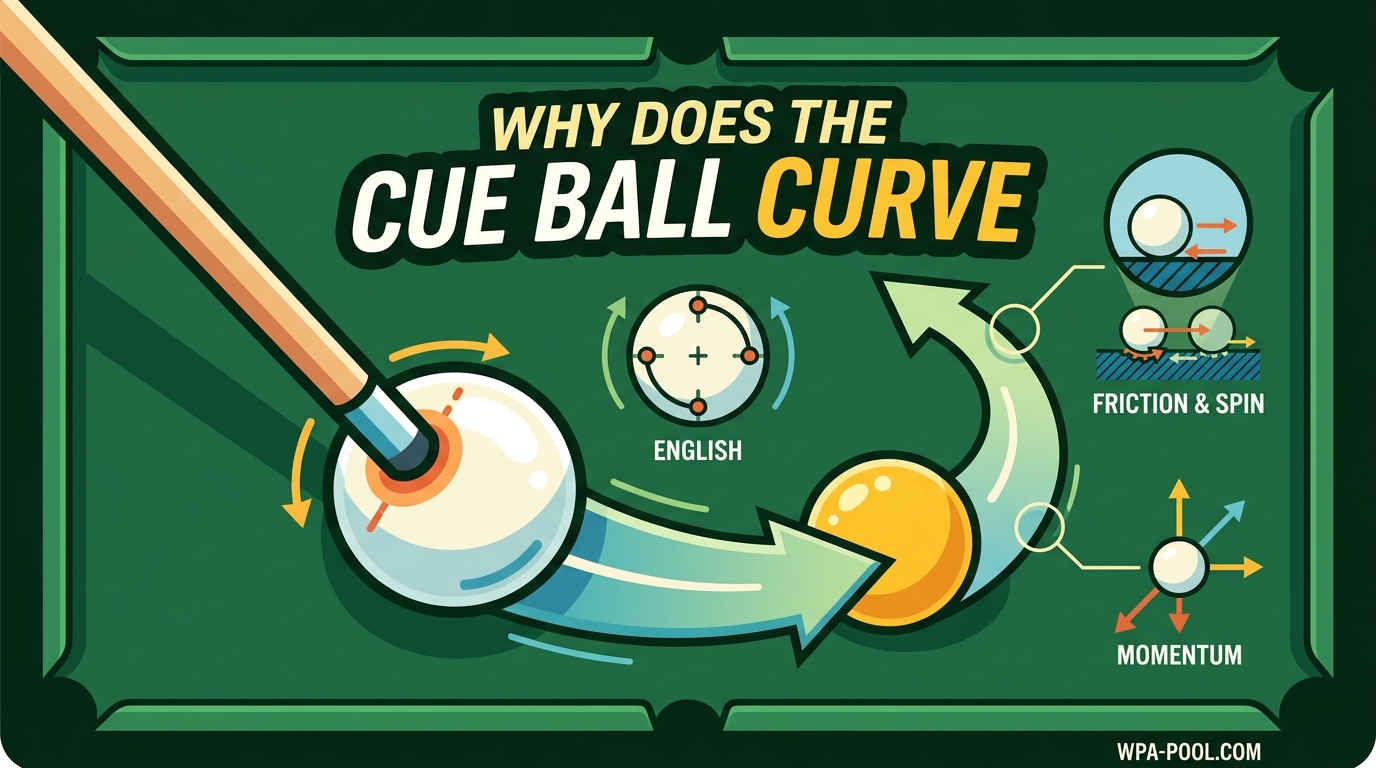
The cue ball curves due to the combination of english (sidespin) applied at an elevated cue angle, which creates friction between the spinning ball and the cloth surface. When you strike the cue ball off-center with an elevated cue, the ball initially travels in your aimed direction. However, the spinning motion creates unbalanced friction with the cloth, causing the ball to curve in the direction of the applied english.
This phenomenon relies on three key factors working together: the spin you impart (english), the angle at which you hold your cue (elevation), and the friction between the ball and the table cloth.
The Physics of Cue Ball Curve
Understanding why the cue ball curves requires grasping some basic physics principles. I have broken this down into simple terms so you can visualize what is happening during each shot.
English and Sidespin Explained
English, also called sidespin, is the rotational force you apply to the cue ball by striking it off-center. When you hit the left side of the cue ball, it spins to the left. Strike the right side, and it spins to the right. This spin axis runs horizontally through the ball.
But english alone does not make the ball curve dramatically. For a true curve shot, you need to combine sidespin with an elevated cue angle. This combination is what transforms a simple spinning shot into a curving trajectory.
The Role of Friction
Friction is the invisible force that makes curve shots possible. When a spinning cue ball contacts the cloth surface, the friction between the ball and the cloth pulls the ball in the direction of its spin. Think of it like a car tire gripping the road. The more spin you have, and the more contact friction you create, the more dramatic the curve becomes.
The cloth nap and condition matter too. New, high-quality cloth creates more friction than worn, slick surfaces. This is why curve shots behave differently on various tables.
Momentum and Initial Direction
When you strike the cue ball, it initially travels in the direction your cue tip was moving. This forward momentum carries the ball straight for a brief moment. However, as the sidespin begins interacting with the cloth friction, the ball starts to deviate from its original path.
The result is a parabolic arc. The ball travels straight briefly, then curves increasingly as the spin-to-friction effect builds, eventually following a curved path toward its final destination.
Spin Axis and Angular Momentum
Every spinning object has a spin axis, an imaginary line around which it rotates. For a standard english shot, this axis runs horizontally. But when you elevate your cue and strike downward with sidespin, you create a more complex spin axis that combines horizontal and vertical components.
This angled spin axis is what produces the swerve effect. The ball fights between its forward momentum and the sideways pull of the spinning friction, creating that beautiful curved trajectory we are trying to achieve.
What Is a Massé Shot?
The massé shot (pronounced mas-SAY) is the ultimate expression of cue ball curve. It is a shot where the cue ball curves dramatically, sometimes more than 90 degrees, to reach a target that would be impossible to hit with a straight shot.
Full Massé vs Semi-Massé
There are two main types of curve shots: full massé and semi-massé. A full massé involves extreme cue elevation, often 45 degrees or more, combined with significant sidespin. This creates the most dramatic curves but is also the hardest to control and can damage table cloth if done improperly.
A semi-massé, sometimes called a swerve shot or curve shot, uses moderate cue elevation, typically 15 to 30 degrees, with english applied. This produces a gentler curve and is much more practical for regular play. Most players use semi-massé shots far more often than full massé shots.
When to Use Each Type
Full massé shots are reserved for extreme situations where you need to navigate around multiple obstacle balls or when the cue ball must travel around a significant barrier. These are often trick shots or last-resort options in competitive play.
Semi-massé shots appear regularly in normal games. You might use one to curve around a single blocking ball, to achieve better position for your next shot, or to execute a difficult bank when a straight path is blocked.
Massé Draw Shots
An advanced variation is the massé draw shot, which combines backward spin (draw) with the curving action of a massé. This causes the cue ball to curve while simultaneously pulling back toward you after hitting the target ball. It is one of the most difficult shots to master but offers incredible control when executed correctly.
Deflection vs Swerve: Understanding the Difference
This is where many players get confused. Forum discussions reveal that even intermediate players often mix up deflection and swerve. Let me clarify the distinction because understanding both is essential for accurate shot-making.
What Is Deflection (Squirt)?
Deflection, commonly called squirt in pool terminology, happens the instant your cue tip strikes the cue ball off-center. When you apply english, the cue ball squirts away from the cue stick’s line of aim. Right english makes the ball squirt slightly to the left. Left english makes it squirt to the right.
This happens because of the elastic collision between the cue tip and the ball. The off-center hit pushes the ball away from the cue stick’s path. Squirt is immediate and happens before the ball even starts rolling.
What Is the Swerve Effect?
Swerve is the gradual curve that develops after the cue ball is already moving. It is caused by the friction between the spinning ball and the cloth, as we discussed earlier. Unlike squirt, which is immediate, swerve builds over time as the ball travels.
When you combine sidespin with cue elevation, you get swerve. The elevated cue angle helps the spin grip the cloth more aggressively, creating that curved path.
How Squirt and Swerve Interact
Here is the tricky part: squirt and swerve often oppose each other. Right english causes the ball to squirt to the left immediately. But the same right english creates a swerve that curves the ball to the right as it travels.
On short shots, squirt dominates. The ball moves slightly away from your aim line due to squirt, but does not travel far enough for swerve to take effect. On longer shots, swerve dominates. The ball squirts initially but then curves back and beyond, ending up to the right of your original aim for right english.
Understanding this relationship helps you compensate for both effects. For short shots, aim slightly opposite to the squirt direction. For longer shots with elevated cues, aim to account for the eventual swerve curve.
How to Execute a Curve Shot
Now that you understand the physics, let me walk you through the practical steps for executing a curve shot. I have taught this technique to dozens of players, and these steps work consistently.
Step 1: Assess the Situation
First, determine if a curve shot is actually necessary. Can you execute a kick shot instead? Is there a simpler bank available? Curve shots are powerful tools but should not be your default choice when simpler options exist.
If a curve shot is required, visualize the path your cue ball must travel. Identify where the curve should begin and where it should end. Having a clear mental image before you shoot dramatically improves your success rate.
Step 2: Position Your Stance
Stand slightly closer to the table than you would for a normal shot. Curve shots require elevated cues, and being closer helps you achieve the proper angle without stretching uncomfortably.
Your bridge hand needs to be stable but elevated. I recommend using an open bridge for most curve shots because it allows easier cue elevation. Place your bridge hand higher than normal, creating a ramp for your cue stick to travel on.
Step 3: Elevate the Cue
Raise your cue to the appropriate angle. For a semi-massé, aim for 20 to 30 degrees of elevation. For a full massé, you may need 45 degrees or more.
The key is maintaining a smooth stroke despite the elevated angle. Many beginners tense up when the cue is elevated, leading to jerky strokes and missed shots. Stay relaxed and focus on a fluid delivery.
Step 4: Apply English Using the Clock Face Method
Visualize the cue ball as a clock face. Center is 12 o’clock. For a basic curve shot, you will strike somewhere between 2 o’clock and 4 o’clock for a right curve, or between 8 o’clock and 10 o’clock for a left curve.
The exact position depends on how much curve you need. Striking closer to 3 o’clock (or 9 o’clock) creates maximum sidespin but minimal draw or follow. Striking at 4 o’clock combines right english with slight draw, which can be useful for certain situations.
Step 5: Execute the Stroke
Stroke smoothly and follow through completely. Unlike punch shots where you might jab at the ball, curve shots require a full, flowing stroke. The cue must accelerate through the ball, not decelerate into it.
Follow-through is especially important for curve shots. Your cue should continue along the elevated path after contacting the ball. Stopping abruptly at impact reduces the spin transfer and produces weaker curves.
Step 6: Watch and Learn
After shooting, observe the results carefully. Did the ball curve too much or too little? Did it squirt more than expected? Each shot provides feedback that helps you calibrate your aim for the next attempt.
I recommend practicing the same shot multiple times, making small adjustments until you find the right combination of aim, elevation, and english for that particular situation.
Types of Curve Shots
Not all curve shots are created equal. Different situations call for different types of curves, and understanding your options makes you a more versatile player.
The Basic Semi-Massé
The semi-massé is your workhorse curve shot. Using 20 to 30 degrees of cue elevation with moderate english, you can curve the cue ball around a single obstacle or adjust its path by several degrees.
This shot is relatively safe for table cloth and is the first curve technique most players should master. It is useful for position play, avoiding obstacles, and executing gentle banks.
The Full Massé
Full massé shots are the dramatic curves you see in trick shot competitions. With extreme cue elevation and significant sidespin, the cue ball can curve 90 degrees or more.
These shots require significant practice and carry some risk of damaging the table cloth. Most players reserve full massé shots for situations where no other option exists. When you absolutely must curve around multiple balls, the full massé is your answer.
The Massé Draw Shot
Combining draw with curve creates a shot where the ball curves while also pulling backward. This is achieved by striking at approximately 5 o’clock (for right-handers wanting a right curve with draw) or 7 o’clock (for left curve with draw).
The massé draw is particularly useful when you need to curve around a ball and then have the cue ball retreat to a safe position. It is advanced technique but incredibly valuable once mastered.
The Elevated Follow Curve
Striking at 1 o’clock or 11 o’clock with an elevated cue creates a curving follow shot. The ball curves while simultaneously rolling forward after hitting the target.
This is useful for position play where you need to curve around an obstacle and then have the cue ball continue forward to a specific location. It combines the curve action with natural roll for predictable post-impact behavior.
Common Curve Shot Mistakes
After analyzing forum discussions and my own teaching experience, I have identified the most common errors players make when attempting curve shots. Avoiding these mistakes will accelerate your learning curve significantly.
Mistake 1: Insufficient Cue Elevation
Many players are afraid to elevate their cue enough. They use 10 to 15 degrees of elevation and wonder why the ball barely curves. For a noticeable curve, you generally need at least 20 degrees of elevation, and 30 to 45 degrees for significant curves.
The solution is simple: raise your cue higher than feels comfortable at first. Trust that the elevated angle is necessary for the physics to work.
Mistake 2: Hitting Too Hard
Power is not your friend with curve shots. When you hit too hard, the ball travels faster than the spin can influence its path. The curve becomes minimal or non-existent because the ball reaches its target before the swerve effect fully develops.
Soft to medium speed is ideal for most curve shots. The slower the ball travels, the more time the spin has to create a visible curve. As one forum member noted, you typically hit with more force on regular shots, but curve shots require a gentler touch.
Mistake 3: Confusing Squirt and Swerve Compensation
Players often aim incorrectly because they compensate for the wrong effect. On short shots, compensate for squirt. On long shots with elevated cues, compensate for swerve. Mixing these up leads to consistent misses.
Practice identifying which effect dominates your current shot. Short distance means squirt rules. Long distance with elevation means swerve dominates.
Mistake 4: Damaging the Table Cloth
Full massé shots with extreme elevation and power can damage the cloth, especially on older tables. The elevated cue tip can dig into the cloth surface if your technique is sloppy.
To protect the table, ensure your cue tip is well-shaped and not too sharp. Use smooth, flowing strokes rather than jabbing motions. Consider practicing extreme massé shots on practice tables rather than competition-quality surfaces.
Mistake 5: Attempting Curve Shots From Unstable Positions
Curve shots amplify any flaws in your fundamentals. If your stance is shaky or your bridge is unstable, a curve shot will fail spectacularly where a straight shot might still work.
Focus on rock-solid fundamentals before attempting advanced curves. Your stance should be balanced, your bridge stable, and your stroke smooth. Only then will the physics of curve shots work in your favor.
Practice Drills for Mastering Curve
Theory means nothing without practice. Here are progressive drills I use to develop curve shot skills in players of all levels.
Drill 1: The Wall Shot
Place the cue ball one diamond from the long rail. Place an object ball two diamonds away, directly in line with a corner pocket. The rail blocks the straight path, forcing you to curve around it.
Practice curving the cue ball around the rail to hit the object ball. Start with gentle semi-massé curves before attempting tighter angles. This drill teaches you how much curve different elevations and english amounts produce.
Drill 2: Progressive Curves
Set up five object balls in a line, each one diamond apart. Place the cue ball so you must curve around each successive ball to reach a target.
Start with the easiest curve around the closest ball. As you succeed, move to the next ball requiring a tighter curve. This progressive difficulty builds confidence while developing your visualization skills.
Drill 3: The Figure Eight
Place two object balls in the table center, about one ball-width apart. Practice curving the cue ball around both balls in a figure-eight pattern.
This drill requires both right and left curves, developing your ability to apply english in both directions. It also teaches speed control, as the cue ball must travel the right distance to complete the pattern.
Drill 4: Distance Variations
Set up the same curve shot at different distances. Execute the shot from one foot away, then three feet, then six feet.
This drill teaches the relationship between distance, squirt, and swerve. You will learn to adjust your aim based on how far the cue ball must travel, which is essential for game situations.
Frequently Asked Questions
How to get a cue ball to curve?
To curve a cue ball, elevate your cue stick to 20-45 degrees, strike the ball off-center with english (sidespin), and use a smooth, flowing stroke. The combination of elevated angle and sidespin creates friction with the cloth that curves the ball’s path. Practice with soft to medium speed for the most visible curve effect.
What causes the ball to curve?
The cue ball curves due to the interaction between sidespin (english), cue elevation, and cloth friction. When you strike the ball off-center with an elevated cue, the spin axis creates unbalanced friction as the ball travels. This friction pulls the ball sideways, creating a curved, parabolic trajectory.
Why can’t I hit the cue ball straight?
If your cue ball consistently curves unintentionally, you are likely applying accidental english through an off-center hit. Check your cue tip position at address. Striking even slightly left or right of center imparts sidespin. Ensure you are hitting the vertical center line of the cue ball for straight shots.
What is the difference between massé and semi-massé?
A full massé uses extreme cue elevation (45+ degrees) to create dramatic curves of 90 degrees or more. A semi-massé uses moderate elevation (20-30 degrees) for gentler curves. Semi-massé shots are safer for table cloth and more practical for regular play. Full massé shots are reserved for extreme situations.
Does hitting harder make the ball curve more?
No, hitting harder actually reduces the visible curve. When you hit too hard, the cue ball travels faster than the spin can influence its path. The ball reaches its target before the swerve effect fully develops. Softer shots allow more time for the spin-friction interaction to create a noticeable curve.
What is deflection (squirt) in pool?
Deflection, or squirt, is the immediate sideways movement of the cue ball when struck off-center with english. Right english causes the ball to squirt left; left english causes it to squirt right. This happens instantly at impact, before the ball begins rolling, and is separate from the gradual swerve effect that develops later.
Conclusion
The cue ball curves due to a fascinating interplay of physics: english (sidespin), cue elevation, and cloth friction working together to create a parabolic arc. Understanding why the cue ball curves transforms this seemingly magical shot into a predictable, controllable technique.
Start with semi-massé shots using 20 to 30 degrees of elevation. Master the clock face method for english placement. Practice compensating for squirt on short shots and swerve on longer ones. With dedicated practice, you will add this powerful weapon to your pool arsenal.
Remember that curve shots should supplement your game, not define it. Use them when necessary, but do not neglect the fundamentals that make you a complete player. Now get to the table and start practicing those curves.